Every shooter knows that having a sight is essential to get a perfect hit. Using a rifle scope with a red dot sight is an excellent way to improve your shooting accuracy and precision.
But how to use a red dot sight to its fullest potential? Well, that’s what we’re here to explore today.
This guide is intended for people looking to explore how shooting with red dots goes. We’ll talk about how to aim red dots properly and all the other information you’ll need for properly sighting in a red dot scope of your choice! Let’s get going.
Introduction to Red Dot Sights
Red dot sights are becoming increasingly popular among shooters of all skill levels who want to take their shooting game up a notch. Using this optic type, you can quickly acquire targets and shoot accurately at short or long ranges.
Red dot sights were mainly designed to solve the problem of focusing on the rear sight, front sight, and target simultaneously!
With a red dot sight, you can keep both eyes open while focusing on the red dot projected onto your target. This allows you to aim faster and more accurately than traditional iron sights.
Now, let’s dive in to learn how to use a red dot sight to your advantage.
How To Sight In A Red Dot: In-depth Guide
Red dot sights are straightforward and very easy to get on the target.
The red dot sight is best for you if you are a new shooter. To use it, point the red dot at the target you want to, and you are good to go with the shot.
The red dot can be easily changed from one weapon to another. They provide massive benefits to the handgun platform and a faster first-shot advantage.
Let’s understand the basic concepts first!
Understand the Types
If you search for the types of red dots, you will get several types, and they all have different functions to perform. Let’s explore them one by one.
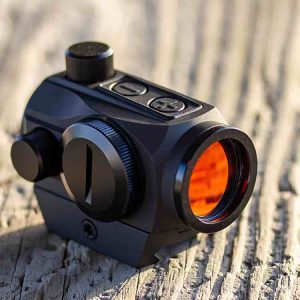
1. Standard Rifle Optics
Most red dots you will notice are made in a tube-like shape for the full arm size.
These optics are designed to only be used for average-range shooting, as these sights feature a 2 – 3 MOA red dot.
For those who aren’t familiar, MOA stands for Minute of Angle and is an important concept to understand when learning how to use a rifle scope.
In simple terms, MOA is the unit of measurement used to define the amount of adjustment needed for a rifle scope or other sighting device.
It helps shooters determine the distance between two points on a target which can then be adjusted to provide the most accurate shot possible.
The shooter also gets an option to mix up this standard rifle optics with a night vision or a magnifier to cover more range.
2. Miniature Red Dot
When you talk about the miniature, the name suggests that you are interested in the smallest variation.
These small red dots are made primarily to be fitted on the pistol and the backup optic for the standard rifle.
Nowadays, these Miniature red dots are getting smaller, and they will become an option for the CCW.
Understand the Functionalities
As we have already mentioned, using a red dot scope is a straightforward job. However, to understand how to aim a red dot sight properly, it’s better to have a clear idea of how the optic actually works. Let’s dive right in!
Everyone should be familiar with the Pepper ghost technology, the technology in which we use pieces of glass and light.
A red dot scope uses the same technology. It acts like a magnifying glass with an illuminated dot in the middle that helps you aim your rifle more precisely.
The red dot sight carries a spherical mirror reflecting the light from an LED. This spherical mirror comes with a coating that will only reflect red light.
So, other lights would not hit or get reflected by this spherical mirror.
To make this simpler, a beam of light is thrown on the spherical mirror, and this mirror reflects the light, which creates the reticle.
So, let’s get down to the section where we discuss how to use a red dot scope in the best and most efficient way!
How to Use a Red Dot Sight: A Step-By-Step Guide
The red dot is a sight designed using which you can target at close to moderate level ranges.
One big advantage of using the red dot sight is that you can get your target faster compared to magnified optics or the iron sight.
This is because you get the reticle on the same plane as the target.
So, when you focus on your target, the reticle comes into your focus naturally.
You also get reduced parallax. Parallax is the ability of the sight to move toward the target when the eye goes behind the dot.
In the case of magnifying scope, the point of impact changes from the point of aim, but it is negligible in the case of a red dot.
Now, let’s dive into the step-by-step process you can follow!
Step 1: Gather the Required Tools (For Installation/Mounting)
When you buy a red dot, you will get the entire accessory attached to it, like the Picatinny rail and other tools required to mount it.
And sometimes, a few tools can be missing in the packaging, mainly because the tools are super common.
You’re good to go if you have a hex key or different size Allen wrenches. If you’re using an iron sight, you’ll also need a mounting plate to replace that.
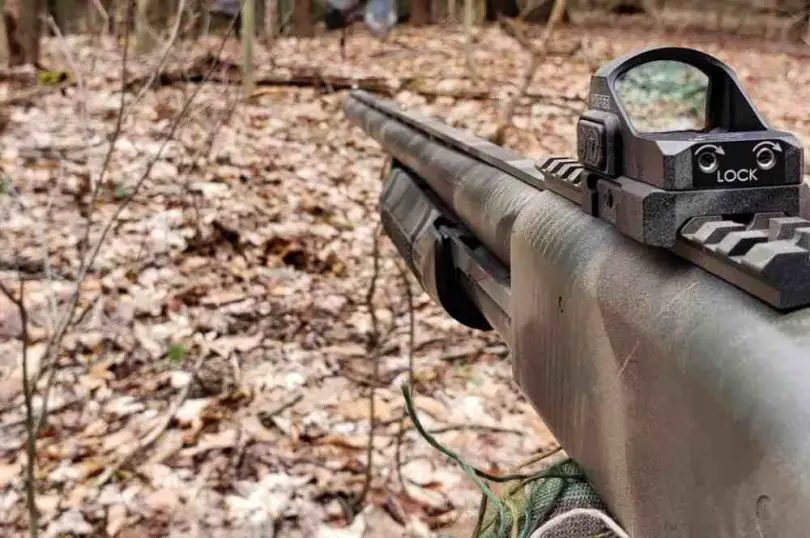
Step 2: Mount the Sight
For mounting a red dot onto your rifle, you’ll need to unscrew the clamp screws and fix them into place.
Make sure the base-and-mount alignment is perfect so there are no issues with parallax in your aim. Also, double-check if all the screws are tight enough on both sides of the barrel and receiver.
You should mount the scope on top of the receiver for better stability. Tighten the scope to minimize the movement. Use the blue Loctite to prevent the loosening of the scope during recoil.
Step 3: Look Through The Scope
Once you have mounted the sight properly, turn on the power and look through the scope.
You should be able to see a red dot or an illuminated reticle in the center of your vision.
Once you get that down, you’ll need to adjust the reticle’s brightness according to your preference and ensure it is visible against all backgrounds.
Now, Set the target. Make sure you have set the target only up to 25 yards, as 25 yards is called a close-range sight which does not need a magnifier.
However, if you know what you are doing, you can also set your target at 50 yards, or even 100 yards, depending on your specific type of shooting. More on that later.
Step 4: Co-Witness the Sight
Now that you have the reticle visible and the target set, bring your weapon to a shooting position to co-witness the scope.
This means adjusting both your scope and the iron sight together, so they form a perfect line while looking through your scope.
Co-witnessing is a fairly straightforward process. All you need to do is adjust the line between the iron sights and the scope dot by moving your rifle a bit up and down.
If you carry an iron sight along with you, it would be a positive point to adjust the iron sight and use it for a co-witness tool to become zeroed in.
Once you have done that, you can proceed to the next step.
Step 5: Adjust the Reticle
Now, look at the reticle and ensure the target is lined up at the top of the post.
If it is not, then the optic needs to be adjusted. If it refuses to sit atop that post directly, some adjustments (horizontal and vertical) would be needed for the dot to sit.
Make sure to turn the dials until you get zero movements. Keep Your Eyes Ready and Focused, so the slight movement in the reticle becomes obvious.
Use the windage and elevation adjustments turrets to secure the perfect alignment between your scope and the rifle.
Step 6: Scream, Aim, & Fire
In case you’re wondering how to shoot with a red dot sight – once you have centered the dot, you can shoot a few test rounds. (You don’t have to scream, though!)
Keep yourself steady. You have to look at the target through the reticle and point the red dot on the target.
If all the steps above are done correctly, you will accurately get the dot on the target.
Once the sight is correctly lined up with the target, fire a few shots, and monitor your accuracy at each range.
This will help you determine if the sight is correctly zeroed or not. If not, you can make adjustments and repeat the steps above until you get it right.
Additional Info on Using A Red Dot Sight: Common Applications
Red dots have an amazing battery life. You can use a red dot for up to 50,000 hours, which absolutely dwarfs the holographic sights, which can last just about 500-1000 hours.
Also, the red dot has the 2 MOA center dot. If you place a 3X magnifier in front of a red dot, you will get 6 MOA on the reticle.
Some shooters ask a common question: “Can they use the red dot for long-range shooting?”
The answer to this question is, yes! Don’t get confused. A red dot works exceptionally well in close to mid ranges.
Also, you can mount a scope on the back of the reflex sight to cover more distances. It also works well in longer distances if you back it up with proper supportive equipment.
If you’re wondering which sight you can choose to mount on the back of your red dot, the answer is any type of sight you prefer!
Once you’ve mastered using a red dot sight, you should spend some time choosing the right sight for your specific needs.
FAQs
What Is The Effective Range Of A Red Dot Sight?
Around 300 yards. However, most shooters prefer to use red dot sights when the target is within 100 yards.
How Accurate Are Red Dot Sights?
They are more accurate than the iron sights your rifle came in with. If you need quick target acquiring and fast shooting, a red dot can be the most useful as they allow holdover for long shots without obstructing the view.
Do Red Dots Use Lasers?
No. Some red dots might feature integrated lasers, but the majority of them have nothing to do with lasers. Instead, red dots use an LED and specialized mirror to project the reticle onto your scope.


Leave a Comment