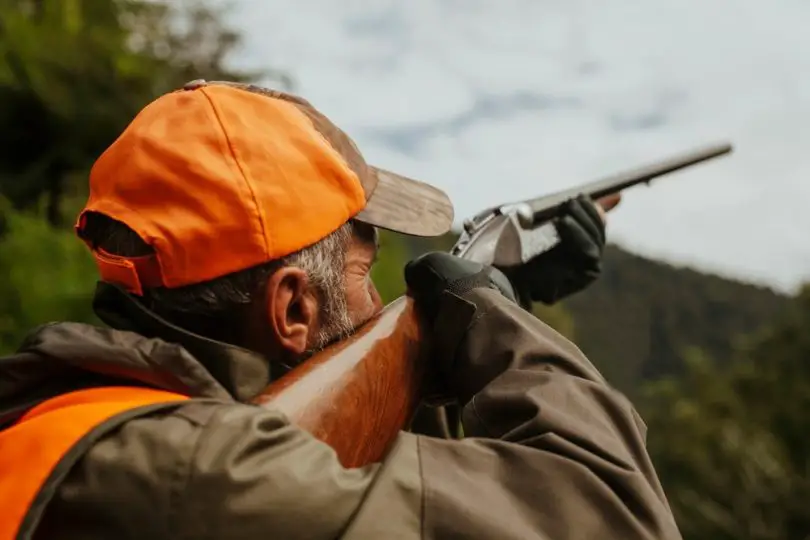
Whether hunting or plinking or target shooting at a range, it’s hard to imagine that you’ll be aiming and shooting your rifle without a scope.
But life doesn’t always go according to our plan. You may find yourself in a situation where you don’t have a scope and you will have to use your rifle without one. For such cases, you need to learn how to sight a rifle without a scope.
Here, we will share with you the methods you can utilize to sight in your rifle without a scope.
How to Sight a Rifle Without a Scope?
1. Peep sight
A peep sight can be the best replacement for the scope, and is the most popular aiming aid among shooters for achieving better accuracy than open sights.
A peep sight allows shooters to aim and shoot using a rear and front component. The most amazing part is that it allows you to hit their targets at a stretch of up to 100 yards or even more.
However, since many variants of peep sights are available on the market, it might seem tricky to choose the right one. You’ll have to concentrate on the right size needed for your target and shoot.
Here are the most common sizes of aperture to choose from.
| Fine | .040” |
| Medium | .070” |
| Standard | .096” |
| Large | .125” |
| X-large | .155” |
After choosing the right size, installing it in the rifle is easier as there are numerous adjustable settings. Attach the sight parallel to the rifle’s barrel and secure the tripods.
- First off, place your face close to the rear sight peephole
- Try to get your eyes close to the peephole until you can see a clear field of view
- Give the best focus on your target precision shots
- For better alignment, you can move the notch or knob at a time and ensure the best precision adjustment
- Once everything is set, pull the rifle trigger
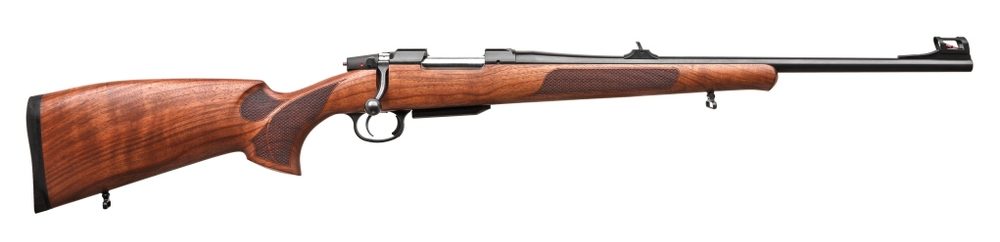
2. Open/Iron sight
Iron sights are lightweight but sturdy enough and ensure the best alignment of the front and rear sights for accurate shot placements. Top-level shooters can shoot at 1000 yards or more using iron sights alone.
Even a beginner can start with this aid if there is no installed scope in their rifle.
Step 1: First, make sure your rifle is on a stable surface. A bench rest is the ideal option here.
Step 2: Now set up your target at a distance of 100 yards and make sure the area behind the target is out of obstructions.
Step 3: Adjust for the windage or elevation, depending on the distance of your target.
Step 4: If you need to adjust for elevation, determine the right sight where the target is set.
In case you are shooting low, lower the front sight. On the contrary, adjust the front sight upper if you are shooting higher.
Step 5: If you need to adjust for the windage, go through the above process to set the rear sight left or right.
Step 6: You’ll need to adjust the rear for elevation. The basic tip to adjust the iron sight is to keep going opposite of where your shots are landing.
For example, if you are hitting the target to the left, set the sight slightly to the right. In case it hits right, move it left. If the shot is too high, move the sight down. If the shot is low, move the sight higher.
Step 7: Now shoot three to five shots at the target. Take a new target and make the proper adjustment.
3. Reflex Sight
Regarded as the ideal sight for short-and mid-range targets, a reflex sight is a handy aiming aid widely used. It uses a center dot set on magnified or non-magnified glass for aiming.
The red dot is used to indicate the point of aim more accurately. You can even aim your target with both eyes open. In the reflex sight, you will find three types of adjustment:
- Day time
- Brightness level
- Night vision mode
Along with this category, you will find two types of reflex sights – tube sights and exposed reflex sights.
As for configuring the best-aiming feature, this can be one of the reliable options as the alternative to rifle scopes. Even novice shooters can start with this aid to achieve accuracy in their shots.
Step 1: First, start with adjusting the rear sight. Align the rear sight with the front sight post and set them on target. While doing so, turn off the red optics.
Step 2: After setting the rear sight, turn on the optic and start zeroing it. Use the iron sight to index the optic.
Step 3: Once you confirm that the iron sights and reflex sight are zeroed, it is time to target the shot.
Step 4: Focus on your target and set your hand in relaxation. Now, start seeing the target through the lens. Move the red dot until it reaches the exact aiming point.
Step 5: Once all set, shoot the rifle to check your accuracy.
4. Laser Sight
As the name suggests, a laser is used in this aiming device that is mounted with the barrel.
A projected beam of light is used to mark the target. Several colored project lights are used on this sight; although green and red are the standard ones.
Green lasers prove well in the daytime while red lasers are suitable for low-light conditions. But red lasers are known to consume less power.
- First up, set up the elevation and windage adjustments of the sight so that the point of impact will move towards the “X” on the target.
- Use the figured alien key to adjust. The windage will help to move the dot left and right, and the elevation will set the light up and down.
- Turn on the laser and set it in a relaxed position with the rifle. Also, sit in and relax to aim at the target.
- Just after turning on the laser sight, a laser light will start projecting on the target point.
- Move around the laser light on the target and set it on the exact aiming point.
- Take a shot and see whether it is the proper adjustment. If not, move the knob to adjust the elevation and windage. Then, fire again.
5. Holographic Sight
A holographic weapon sight (HWS) is a non-magnification sight with a large viewing window that allows users to shoot with both eyes open.
It mainly uses a laser diode and mirrors that project a holographic reticle to the target. The laser light is set in front of the lens window.
This large viewing field provides a crystal clear image of the target in 3D space, making it easier to shoot and enabling fast target acquisition.
On top of that, the sight uses an automatic power supply system to change the reticle brightness manually. As a result, you can use it in all weather conditions, whether in rain, snow, or fog.
In a holographic sight, the reticle is always set on the target where the rifle is pointing. As a result, you don’t need to make any further adjustments. The operating process is also relatively straightforward.
Just move the rifle left or right and set the right on the exact target point. Once you are confirmed about your target, fire away.
FAQs
1. How far is a reflex sight good for?
Ans. Red dot sights will prove well in accurately shooting up to 100 yards. But a skilled shooter can shoot up to 300–400 yards using this sight. The sight will be durable but lightweight enough to carry on the rifle.
2. What type of hunting sight is best for you?
Ans. This depends on a few factors like shooting skill, the distance of your target, environment, lighting conditions, target type, and so on. You can shoot the iron sight or telescopic as most hunters use it. But if you’re looking for defense, consider laser sight for the best result.
3. What is the difference between a holographic sight and a reflex sight?
Ans. Both are reflector sights, but the core difference lies in the reticles used in viewing the image. Reflex sights use the traditional lens, whereas holographic sights use powerful lasers. That’s why it proves to be much better than the red dot ones.


Leave a Comment