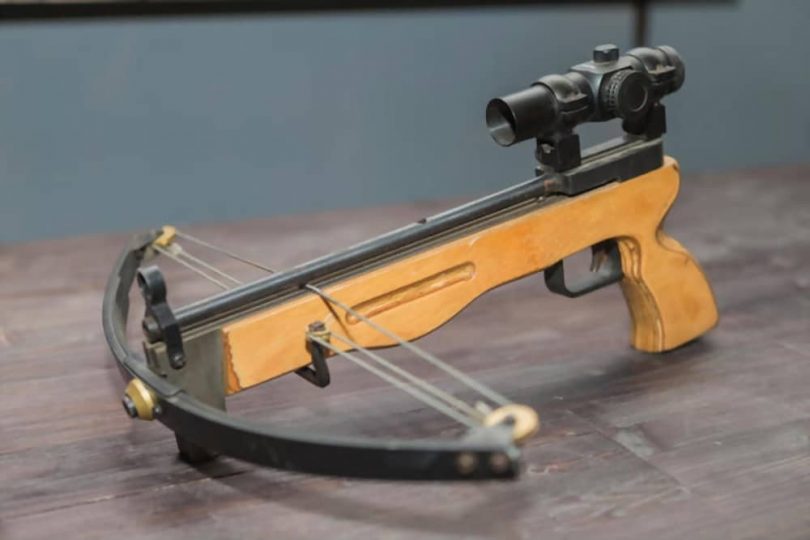
Do you have an interest in building your own crossbow? Then this DIY 10-Step Guide is just what you need!
A crossbow is a bow mounted on a stock that shoots projectiles called bolts or quarrels. It has been used by hunters and in combat since ancient times. It is now gaining popularity for recreational archery as well.
It’s created to shoot out projectiles bolted on a particular target. You can craft both your crossbow and DIY target at your home.
Written by enthusiastic hobbyists, this guide will take you through the process of creating a functional and powerful crossbow right from scratch.
And since you are making a crossbow, you must already know how does a crossbow work. This guide will provide a brief overview of the DIY process of constructing your own crossbow. Let’s get on with it!
How to Make a Crossbow at Home – DIY Crossbow Making Guide
Step 1: Components and Tools Needed:
Tools:
- A Hacksaw
- A Drill or a Manual Borer
- Blowtorch
- Gloves
- Cutter
- Meter and Pen
- Knife
- Metal File (Optional)
- A Clamp (Optional)
Materials:
– One PVC pipe – 1 meter – diameter 32 millimeter
– One PVC pipe – 1, 5 meter – diameter 40 millimeter
– One PVC bend – diameter 40 millimeter
– Three PVC bends 45° – diameter 40 millimeter
– One “Y” PVC connection – diameter 40 millimeter
– One PVC tee – diameter 40 millimeter
– 3 meters of rope
– Two pulleys
– Eight top-quality crossbow bolts with screws and ring
– A long tape (optional)
– PVC glue
– Protective rubber or foam
– Five PVC collars – diameter 40 millimeters
– Two Toothbrushes
– Wood trunnion – 60 centimeter – diameter 8 millimeter: one by arrow
– A 1-meter strap
Step 2: Make the Bow
- First, insert a 32-diameter pipe in a 40-diameter tee.
- Make sure the tee is placed right in the middle of the pipe you intend to use, then mark out the spot on both sides to help centralize the pipe once it is handled.
- Soften the plastic by heating the pipe with a torch; afterward, you can flatten the pipe to get the shape of a bow.
- Progress by a little section of 14 -20 centimeters, make sure the torch is appropriately moved; this will help the pipe from burning off completely.
- Leave a space of 7 centimeters on both sides where the pulleys will be placed afterward.
- Although this part is considered to be the longest part since the strength of the arc is solely dependent on it. So it’s important to be patient.
Step 3: Installation of the Pulleys
- Drag the location of the pulley and ensure it rests at the end of each arc. Now cut it out using a hacksaw.
- Make a hole in the tabs created.
- Place the pulleys in the right position and screw them properly with the right type of bolt. Do this with caution to avoid deformation on the tabs.
- Make sure both pulleys are in-line facing each other.
- Direct the rope to get across the pulley, and fix the end to a screw and then stretch.
Step 4: Housing of the Rope
- Now insert the 40-diameter pipe in the tee.
- Stretch out the rope and make sure it’s aligned in the direction of the crossbow. Now create a spot on the position where the extended rope stops.
- Create two holes and ensure you have enough distance where you can place the arrow.
- Place the screws and fasten the bolts on them. It’s vital to protect the rope from the screws.
Step 5: Make the Stock
- Couple the stock and try not to stick if it suits your size.
- Cut a pipe with a diameter of 40 millimeters that you can use to fix the elbow.
- Once you carry out proper adjustment, it’s time to ensure all elements are correctly glued together but don’t fix the stock you used directly on the crossbow. Allow all glue on the joint to dry off for a period of 10 -20 minutes.
Step 6: Make the Trigger
Now you will have to cut a 20-centimeter-long strip and place it in line with the length of the pipe.
- Use a torch to supply heat to the piece you intend to use; this will help flatten it and gives it a perfect shape.
- Create a hole of 1 centimeter in size where you will place the screw. The screw will help create a lever with the help of the trigger.
- Create a slit; this will act as the cross trigger.
Step 7: Cable Pass
To avoid all cables from tangling and limit friction, you need to create a slit positioned perpendicular in the direction of the rope right in the middle of the pipe.
If fixed properly, it will form the body part of the bow you intend to create.
- To create the slit, you will have to drill some small holes in succession.
- File up the slot angle and make sure the rope is not damaged during this.
Step 8: Arrow Guide
- Divide the toothbrush into two halves.
- Place the PVC collar on the crossbow.
- Use an adhesive to hold the PVC collar, and this should be done in a “V” shape inside out.
- The second PVC collar should be clipped 10 centimeters away from the trigger position
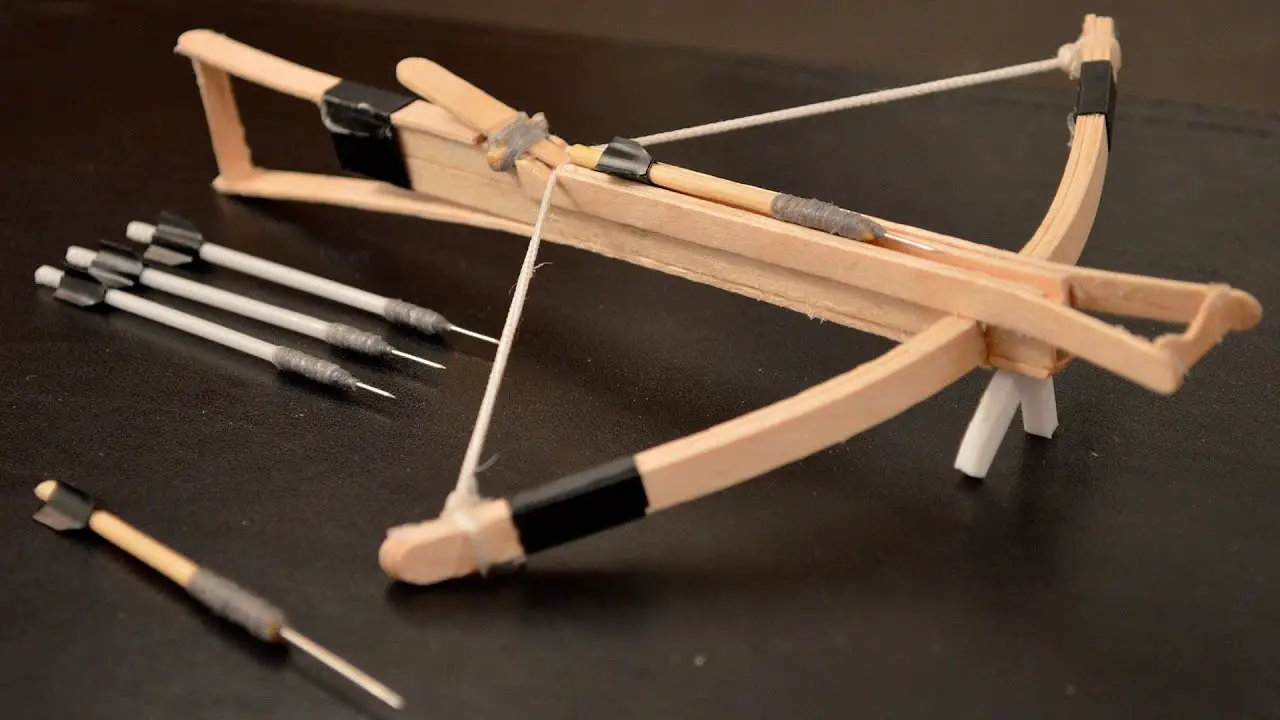
Step 9: Make the Quiver
When it comes to quivers, you can use leftovers from pipe and foam pieces obtained from an old sports device. You can also use the remaining piece of pipes used to create the trigger and place it on the side of your arrows.
- Insert foam directly in the pipe and drill small holes -smaller in size than the size of the diameter of the arrow you intend to plant.
- Cut the second piece into two halves lengthwise.
- Create incisions on the body of the foam; these incisions will serve as positions that will act as a wedge to the arrow; if necessary, you can glue the hose in the foam.
- Heat 40 centimeters of the pipe you want to use; heating it will help soften and will at large flatten the pipe. Both parts help to link both elements on the quiver.
- While on the second element, you can fix the other part using either screws or glue.
- Fix a PVC collar that has a diameter size 40 centimeters. Do this in a way it can quickly get snapped directly in the body of the screw.
Step 10: Crossbow Camouflage
Use black adhesive tape to rap the bow all over. Or better still, using camo color around will be a perfect idea too.
Congratulations! Now you know how to build a crossbow yourself. Learning how to make a crossbow will help you boost your confidence and develop your skills.
Thanks for reading this far. I hope this article proves to be helpful to those in need. Feel free to contact us if you have any thoughts or opinions to share.
FAQs
Q. 1: Can you make crossbow bolts?
Ans: Yes, it’s possible to make crossbow bolts with the aid of different broad nocks and heads. But if you are one of those crossbow enthusiasts, you can make efforts to build one for yourself.
Q. 2: How much does it cost to build a crossbow?
Ans: The price to build a low-quality crossbow ranges from around $120 -$150 while coupling a high-quality bow could cost around $2000. Learning how to make a crossbow yourself will only get you so far, financially.
Q. 3: What metal is a crossbow made of?
Ans. You will find metal crossbows made of steel and its alloys. Aluminum crossbows with their alloys are also available. The properties of each material make them work well in different ways. Composites are known for their lightweight and efficiency.
Q. 4: What can I use for crossbow limbs?
Ans. Red oak, hickory, or ash are great for crossbow limbs. Any strong wood will also do the job.
Q. 5: What happens if I dry-fire a crossbow?
Ans. Different things can happen depending on the brand or model. Some of them will hold up to extreme events with insignificant damage. Excalibur and Horton Vision crossbows are known for their capability to hold up after a dry fire. The worst-case scenario is a broken string but that’s it.
Q. 6: Can I leave my crossbow for a long period?
Ans. You shouldn’t leave your crossbow cocked for longer than 24 hours. The strings and cables will have premature stretch, which will lead to a drop in crossbow performance.
Q. 7: Can I fire a crossbow in my backyard?
Ans. It’s okay to shoot a few arrows on your private land for the most part. You should still check for the city, state, or country law about archery on their respective websites. A practical solution is to call the police department information line or visit a local archery shop to know if backyard crossbow shooting is legal.


Leave a Comment