The better you’re concealed, the better your chances of bagging a trophy deer.
Wondering how to build an elevated deer blind?
Save money with our guide and make this season a special one!
We always want that you make every hunting season a success.
So if you’re not confident to be a DIYer, don’t hesitate to spend some bucks and find out the most suitable ground blind for deer hunting.
Popular Elevated Hunting Blind Plans
A hunting blind is one of the best ways to harvest a trophy buck. Here are easy-to-make hunting blind plans:
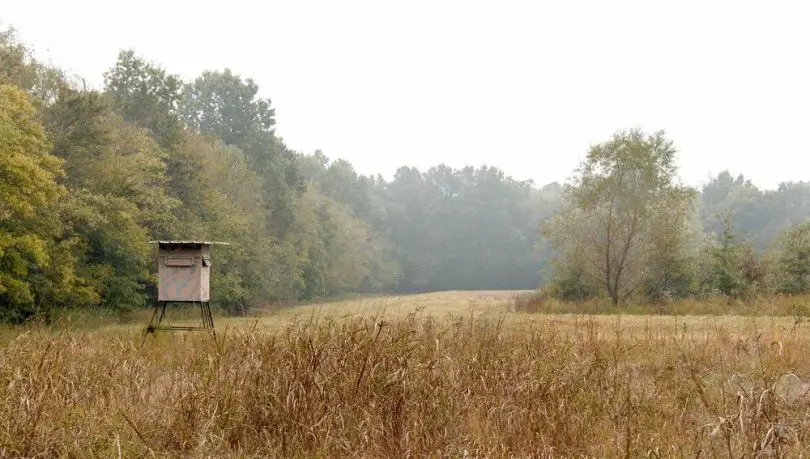
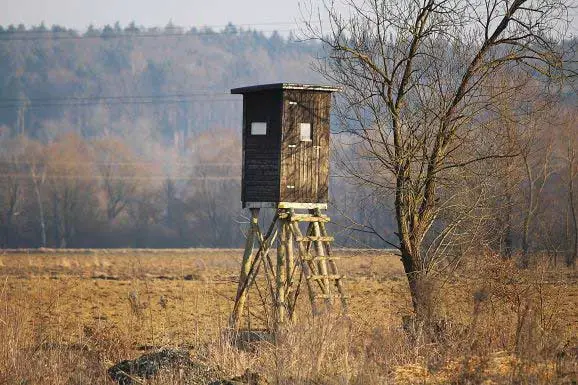
A common blind stand is a 6×6 deer blind. It’s spacious, sturdy, and ideal for 4 people with windows on all sides.
An octagon deer blind stand is more spacious than the 4-sided blind stand. It can hold up to 8 people. However, it’s also more expensive.
A DIY deer box blind stand can give you portability with the desired shape and size. This box can be made for one or more hunters as per the available space.
A deer tree stand plan is super economical. It can be built around/along the tree to get the tree’s support and help you disguise it better with a natural look.
These blinds for deer hunting are commonly higher than others, starting from 15”.
Tower boxes or two-story deer stands are slightly different but fall in the same category.
They have one enclosed story at almost 6 feet, while the upper story is enclosed in a tower or box shape at 15 feet.
A super cheap deer stand is an open and free stand with a swivel seat, leaning against the tree.
It stands almost 8 feet tall and has a wide stand because of the fenceless bordering.
How to Build an Elevated Deer Blind: Step-by-Step
Follow these detailed steps to build a common 6×6 deer blind. However, keep in mind that the calculations depend on your preferred size.
Necessary materials
Here comes the essentials required before building a blind, but remember that these calculations are only for 6×6.
- Lumber
You need lumbers of different sizes to build a deer blind – 8 lumbers of 4×4 and 8 feet long for the long post; 12 lumbers of 2×6 and 6 feet long for joists; 2 lumbers of 2×3 and 6 feet long rim rafter; and 51 lumbers of 2×4 and 6 feet long for walls, rafter, and top ridge.
- Plywood
You need 8 plywood sheets of ¾” and 4’×8’ long for the floor and walls.
- Miscellaneous
Other materials needed are a few brackets for the stand, screws of 1-1/4”, 1-5/8”, 2-1/2”, and 3-1/2”, door hinges, filler, stain, and glue.
Necessary Tools
To turn those materials into a well-crafted deer blind stand, you will need some woodworking tools like a tape measure, a hammer, a framing square, and a level.
Other than these tools, you’ll also need some woodworking machines. These include a drill machine, a screwdriver, a sander machine (you can also use sandpaper), and a miter saw.
For your own safety, use safety gloves and glasses.
Steps to Making an Elevated Deer Blind
1. Floor framing
For a floor framing of 6×6, you need eight 2×6 lumbers: two of 72? and six of 69?. Then, use a 69? at the inner side of 72? for the perfect corner and use the other five 69? lumber at every 12.5? distance.
Fill the drill point hole with 2-1/2 screws from the rim joist into the regular joist.
2. Installing post and fitting the floor frame
Use eight 4×4 posts to drill them into the ground and make a 69” square. Fix the floor frame on the posts and lock with the 3-1/2” screws.
3. Flooring
Use two ¾” plywood sheets: one of 48×72” long and the other 24×72”, and fix them on the frame.
4. Framing and fixing the sidewalls
Use a 2×4 lumber of 6”, cut 4 pieces of 32-1/2” and 22-1/2”. Fix these pieces in a 72” square as the floor side gets 32-1/2”, the roof side gets 22-1/2” and the 14” space between these two for the shooting area.
Use 2-1/2” screws for studs and 3-1/2” for fixing walls to the floor.
5. Framing and fixing the back wall
The back wall is 65×72”; this wall will have a door 24×48” or 24×72” in the frame on the left side.
Other than that, follow the sidewall pattern material and fix it to the floor.
6. Framing the front wall and assembling
The front wall structure will be like sidewalls; just calculate as 65×72”.
Assemble every wall with the other, and square walls frame with the floor; corners should be well-squared after assembling.
7. Rafters
Use two planks of 9” at the center of 72” wide walls in a mounted shape. Add a 72” long, 2×4 lumber, and fix it on the 9” mounted edges.
Add rim rafter on both front and back walls, now cut the 6’ long, 2×4 lumber into 35-3/4”, and angle cut one side to 75° with a miter-saw and fit the rafter.
Cover this frame with corrugated tin sheets.
8. Paneling the wall
In the end, use ¾ plywood sheets on all the walls, perfectly align with the corners and use 1-5/8” screws or nails at every 8”. Be careful with the door and use exact measurements.
One other thing. Be very careful about the place selection. Deer blinds are usually placed in a place that has low to zero human contact nearby.
If you need to take shelter on your blind on a hot day, make sure you carry enough water. It’ll be a miracle to find help nearby if you become unconscious from dehydration. US border patrol agents faced a similar case in Texas.
Conclusion
We believe these steps will help you craft the perfectly elevated deer blind so you can get better results this season.
Tell us in the comments if you were able to make the blind in a single attempt.
FAQs
1. How much does it cost to build a deer blind?
Ans. Deer blinds have different kinds and you can make your own. But the common deer blinds can hold up to 4 individuals and range from $100 to $300.
2. What is the best height for a deer stand?
Ans. A deer stand can be as high as you like. The ideal height is around 5” to 10” forward deer stand.
3. How high should deer blind windows be?
Ans. This depends on one’s own preferences. Usually, the bottom of the window starts 35” from the floor. This window can be of 6” to 12” long, but 6” is recommended for better-disguised movements.


Leave a Comment