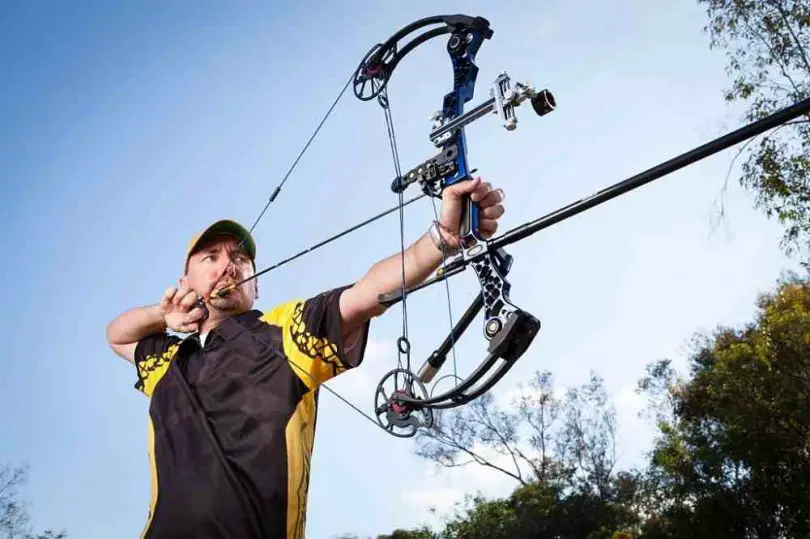
If you take a look at target bows, stabilizers are potentially the greatest distinction you can encounter.
It may sound challenging to stabilize your compound bow, but it’s surely not if you do things right.
You can start shooting more accurately by adding the best stabilizers to your setup, but some assumptions discourage people from using them.
Learn all you need to know about the compound bow stabilizer setup in our in-depth guide!
Archers need to know how their bows, bow sights, and arrow rest impact their shots to get the most out of their compound bow.
Compound Bow Stabilizer Setup: Complete Guide
When preparing your bow, whether it be the crossbow or the compound bow, or the longbow, there are a few simple objectives you must have in mind.
First and above all else, you need to be sure that the bow suits you, and that it is well-tuned and accurately sighted.
After that, you’ll have to take the measures required to guarantee that the bow retains its balance and is 100% accurate. Your configuration must be robust and repeatable.
Here are a few tips to ensure you shoot like a professional and set your compound bow up.
1. Shoot with an Appropriately Sized Peep Sight
In bright weather, you must use a peep with an opening that is wide enough to enable you to see and focus the entire visual housing within the peep.
A large peep is a significant benefit if the play is more competitive in low-light situations, and you want to get much more of your shots.
Almost all bow sights have circular housings since the round opening of the peep sight is generally easier to focus on.
It might be time to pick up a new version if you are using a view of a strange-shaped housing.
2. Tie the Peep Sight
One of the basic abilities that you should learn is how to correctly tie your peep sight.
It is an underrated feature of the equipment configuration that not only guarantees that the peep doesn’t shift when you aim, but in the case of a dry-fire or string malfunction, it will also avoid severe eye injury.
When your peep is correctly aligned and in the right position, you should mount “stop ties” around the outside of the peep.
Don’t tie the strings to the peep sight. Once a peep sight is attached to the string, each time you want to change your peep sight, you would have to take off and redesign this tie.
3. Balance the Bow
You have to force the handle counterclockwise to elevate the bow.
Due to the tension you were adding and the additional time it would take to stabilize the bow, you would make some unsuccessful shots in this direction.
It’s foolish to spend half your time and resources battling gravity when keeping the bow at a stable position since you only have around 7 – 8 seconds to make your perfect shot.
You should use the Quivalizer, which incorporates the quiver and stabilizer functions.
The innovative mounting system greatly increases the stability of the bow and lowers the overall material weight of the accessories of the bow.
4. Shoot with a Quality Handheld Launch Assistance
The majority of handheld releases have outstanding, highly customizable dual triggers.
Usually, before they shoot, they can be adjusted to almost negligible creep, and the trigger stress can be adjusted from high to incredibly low.
Compared with a handheld, the broad end of the release often requires some drawing length.
Based on the bow you are using, having an additional half or one inch of draw length will add around 10 feet per second.
If you choose to use handheld releases, be sure to get one with a lanyard.
5. Use a Multi-Pin Scope
There is no marked-range target shooting if you are bowhunting. You can, of course, shoot it more precisely if you exercise in the backyard.
Just persuade the elk or deer to keep still and remain at the range your scope is set for, and you’ll be all right. Seriously, Have a huge stack of pins.
If your one-pin slider still does not cost you any animal, either you chase very collaborative animals, or you have not used it for a very long time.
6. Shoot the Short Diameter Shaft
Most arrow manufacturers sell hunting shafts with smaller diameters. They penetrate deeper and also drift less in the wind.
There’s no downside to using them while using a drop-away type rest.
Next time when you’re heading for your arrows, go for shafts with smaller diameters since it is one of the best efficiency improvements you can purchase.
In most small diameter shafts, archery inserts and outserts could be used to enable the use of regular 8 – 32 string broadheads if that is a persistent problem for you.
7. Tie Knots within the D-Loop
If you don’t connect any support on and around the nock points with a little wiggle space, D-loops will pinch the nock and create uneven tension on the rest.
A mere D-Loop can initiate problems with tuning and precision, but it happens most often as your arrow drop off the remainder when you achieve a maximum draw.
Besides, when it is time to repair your D-loop, the above and below ties will help you to attach the new one in the very same position without compromising your target and adjustment point.
8. Mark Your Tiller Bolts and Cams
It’s important to make some comparison markings on the cams until you have your bow balanced and firing well, so you can track string and cord lengths over a period.
Otherwise, slight modifications can go unseen and eventually decrease accuracy.
You might use a silver Marker pen to draw a pattern to the cams on either section of the limb while using a limb as an edge.
When the string or transit cable is extended, the markers will shift close to the limb, helping you to locate the issue.
9. Follow the Speed Limits
Generally, broadhead-tipped arrows make their best performance under 290 fps. Typically, you should focus on maintaining your bows within the 280 fps limit.
That speed offers a powerful balance between a moderately smooth trajectory and exceptional broadhead precision.
It’s easy to bypass this speed restriction using lightweight arrows with the quicker bows widely available.
If your bow is balanced exceptionally well, your shape is outstanding, and you use a reasonably small or low-profile adjustable broadhead, you can get away with it.
10. Use Heavy Arrows
That correlates with the speed limits, but shooting a heavy arrow has other benefits. Heavy arrows have greater penetration than lightweight arrows.
With heavy arrows, your bow should be smoother and more accurate. Heavier arrows bounce less in the wind.
Shooting a heavier arrow is better for your bow and all the parts of it because it eliminates vibration.
Concentrate on the blade when searching for excessive arrow mass, and don’t go crazy with tip weight.
11. Do Not Use FOC
The issue of forwarding center balance (FOC) is a fairly popular subject these days.
It is represented as a percentage of just how far forward the equilibrium point of the central axis of the shaft is.
FOC affects different parameters such as point mass, broadhead thickness, shaft length, vanes, and arrow wrapping.
Over the years, many tests have been done with several different configurations and the optimal hunting setups have around 150 grains of overall point weight. If you’re above it a lot, it’s harder to balance your bow.
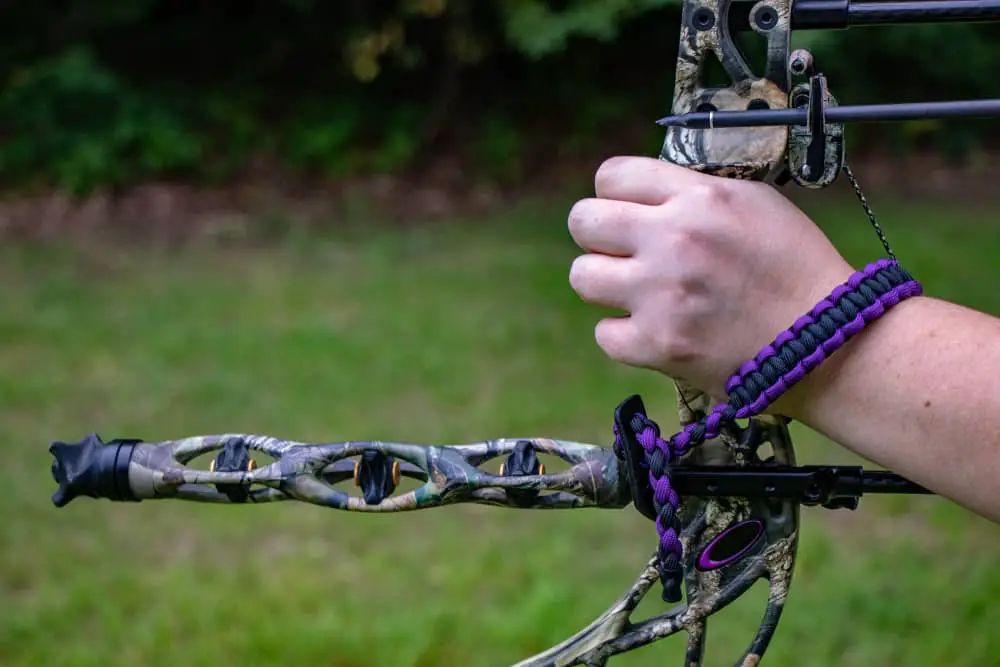
12. Trow Away the Grip
The grip is the main place where you hold the bow directly while taking a shot.
Manufacturing companies produce leather, rubber, and plastic grips that make the bow somewhat more convenient to carry and hold.
Nevertheless, these grips can cause additional pressure in the shot since they apply a width to the bow riser.
The uneven edges of most industrial grips often make it more challenging to accurately place your hand.
Conclusion
A properly configured bow can help you shoot more accurately and do successful shots in hunting conditions.
Do not forget the basics and ensure your cam comparison marks are made and tracked to make the most of the season.
A shot chance is an awful thing to miss, so make the best of it and aim straight.
FAQs
1. What Size Stabilizer Do I Need for My Compound Bow?
Ans. You have to calculate the range you shoot and the area you shoot, and other variables to find the proper length of optimal stabilizer for your bow.
Usually, small stabilizers are smaller than 10 inches, moderate stabilizers are between 10 and 15 inches in length, and longer versions are around 16 inches.
2. Is a Longer Bow Stabilizer Better?
Ans. Theoretically, the larger your stabilizer is and the more load it bears from the bulkhead, the more successful the aim would be.
Nevertheless, expanding a stabilizer’s length and weight is not the only variable in this calculation.
Length, weight, components, shooter endurance, planned use, and environment are all essential considerations to take into evaluation when selecting a stabilizer.


Leave a Comment