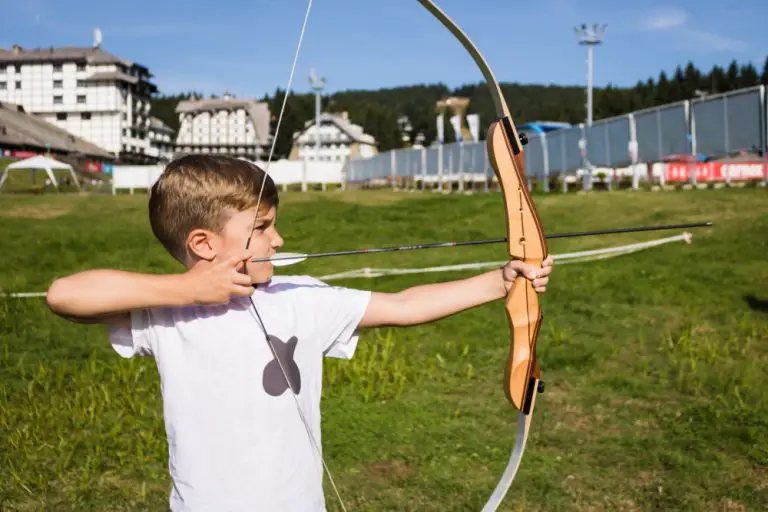
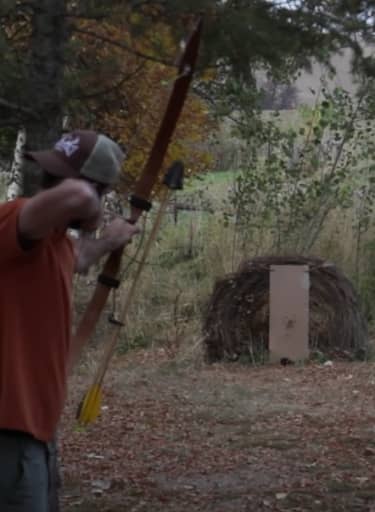
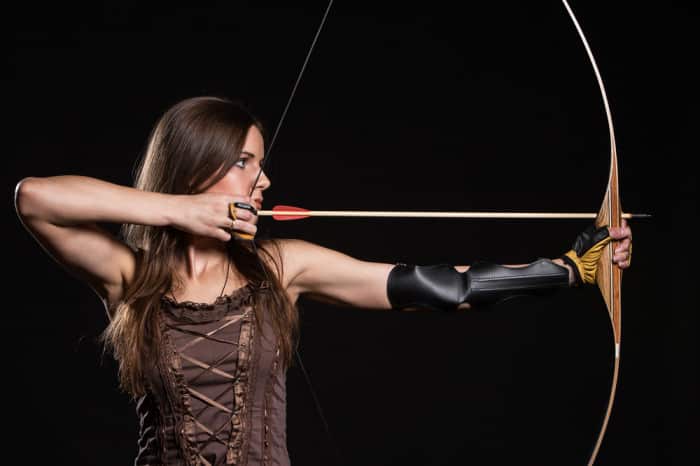
It may be a source of wonder for beginners to learn how to aim a longbow. The ancient longbow doesn’t have an archery vision, let alone an iron sight.
While modern bows are full of technological innovations, the longbow remains a great choice with its lightning-fast speed, skillful precision, and impressive stability. It’s also a superb pastime activity for anyone with a little adventure in their soul.
Understanding the mechanics of the different ways you can aim your longbow makes a world of difference. Whether you’re planning to master instinctive aiming or simply trying your hand at the ‘O’ ring method, the most important part of the training is to make sure that you’re having fun!
Here, we’ll show you how you can hit your target using several techniques.
How to Aim a Longbow: The Complete Guide to Archery
Different Methods to Aim Longbows
1. The ‘O’ ring
In the ‘O’ ring method, a mark is added to the upper limb as a sight. Either an ‘O’-shaped ring or a rubber band/loom band is placed at the center of the target or on the desired point of reference. When the arrow is at the full draw, this method helps to hit the bull’s eye.
It makes the appearance of the gap more evident and lets the archer shoot with an under-the-chin style anchor point.
During practice, hit the target at your desired distance, roll the band up/down the limb until you find the correct spot. Once you find a consistent mark, measure the distance from the top of the handle or arrow-pass up to the band with the help of a ruler.
2. Ground marker
A ground is an (6×3 inches max) object placed on the range as a reference point to the archer’s arrow point, particularly at the beginning of a round. Note that it cannot be adjusted in the middle of an ongoing round.
With a ground marker, just focus on whether you have placed your arrow on a specific mark on the range. This is unlike the ‘O’ ring method where you’ve to keep your eyes on the surroundings other than the center of your target.
What’s Instinctive Aiming?
As the name suggests, instinctive aiming is when the archer shoots a bow instinctively without actually aiming. With repeated practice and muscle memory, the archer develops an ability to simply point and shoot without having to aim at all. This practice is used by archers to broaden their horizons. It’s also sacred in a sense that it allows them to merge soulfully with their roots.
Some Instinctive Aiming Styles:
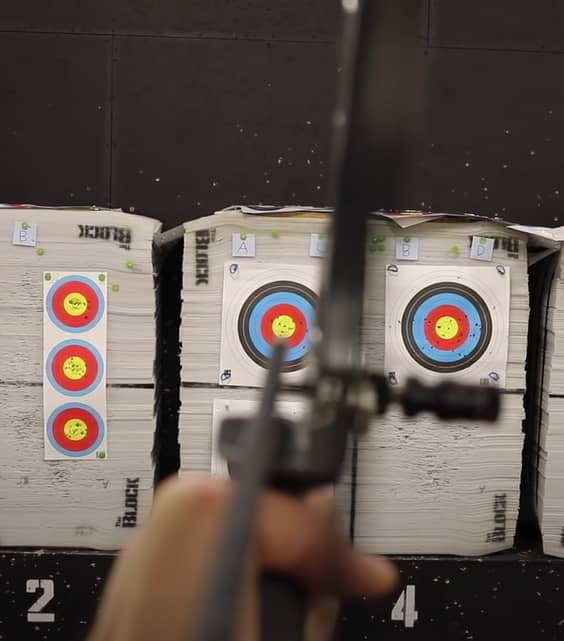
1. Gap shooting
This is one of the most efficient methods that doesn’t require a sight. In gap shooting, the archer uses the point of the arrow as a sight and adjusts it for different ranges.
Understanding the ‘point on distance’ is vital here. Finding the ‘point on distance’ means that the archer knows the difference in the distance between the point where the intended target lies and where the arrow actually hits after being released. Simply put, this is the point where the shooter’s line of sight and the arrow’s trajectory meet together.
But some other factors also play a role here, such as the length and speed of the arrow, the anchor point, and your hold on the string; i.e., whether it’s three-under or split-finger that affects the point on distance.
The archer moves across different spots to decide how much higher or lower to aim the arrow on the desired target in order to be able to hit it. Although great for target shooting, this method isn’t ideal for any hunting situation since it takes longer to process thoughts when the target suddenly comes into view.
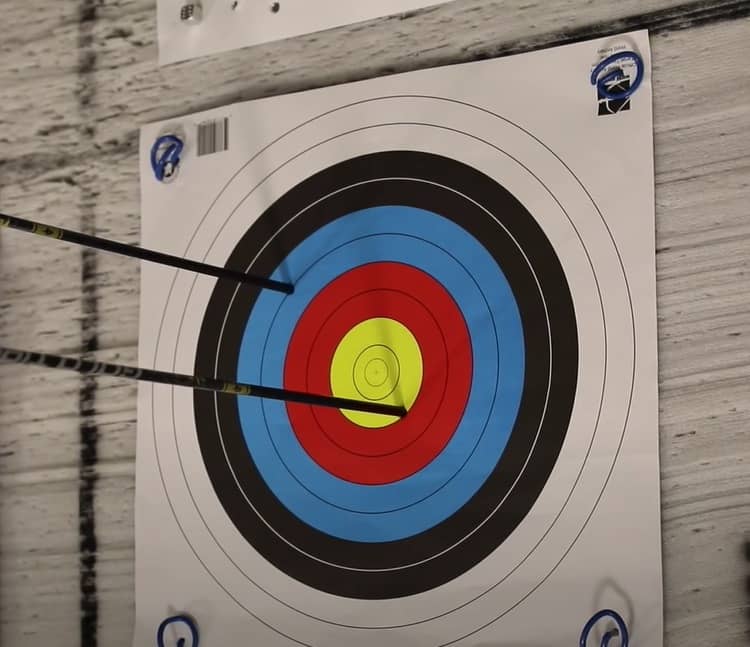
Let’s assume our target is the pine cone
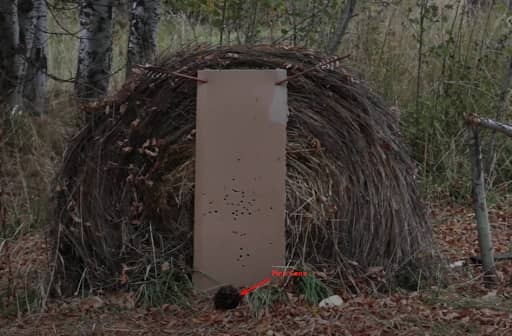
Shot from 10 yards, the gap is about 12 inches above the pine cone.
At 15 yards, the gap is 10 inches
Shot from 5 yards, the gap is reduced to 8 inches.
This means after trying out from 5,10,15, 20, and 25 yards away, the Point of Distance was finally reached at 28 yards.
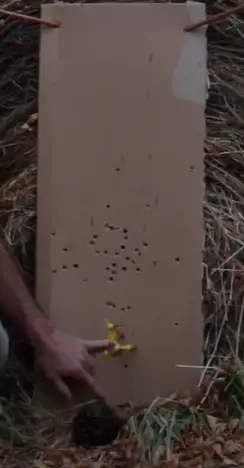
2. “See it and shoot it” (Purely Instinctive archery)
Stick a styrofoam or a paper cup to a regular circular target and make sure the open side of the cup faces towards you. Start at a distance of three yards and keep shooting arrows just by looking at and focusing on the center of the target.
When you see that you can group most of the arrows in the middle of the cup, now you can choose a further distance. Repeat the same process every time to try out various distances. It’s best to shift by a maximum of two yards at a time and not more.
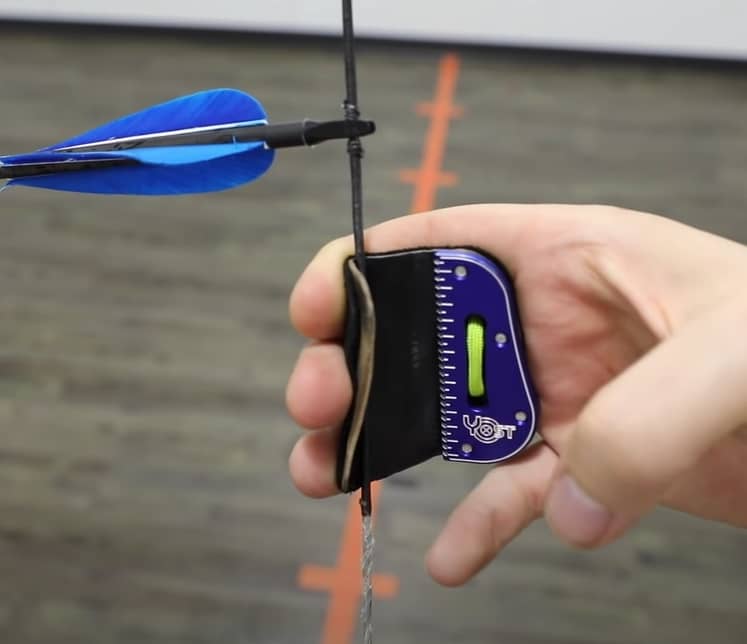
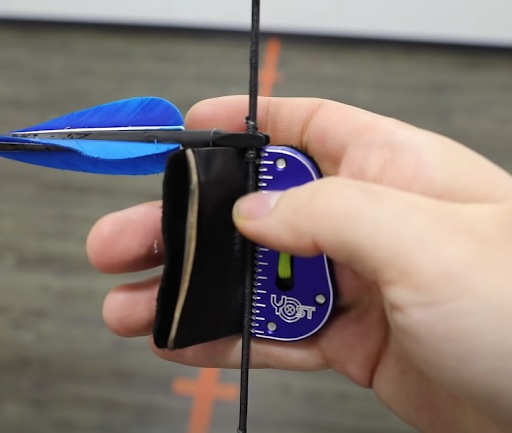
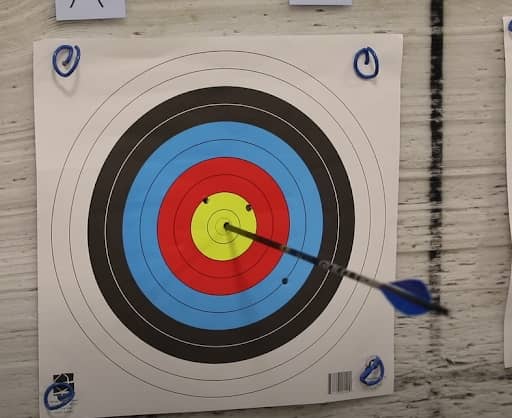
3. String walking
Despite being a bit slow, the string walking aiming method allows the archer to have the same sight picture during each shot, no matter what the distance is from the target. Along with being accurate when it comes to getting tighter groups, this method is also fun to perform.
String walking involves mapping out the arrow’s trajectory like gap shooting, but essentially, the archer maps it on the backside of their shot; i.e., on the string. This means that the sight picture will remain the same no matter how far the archer is from the target.
In fact, the archer moves their string-hand across the string in up and down motions to find the right point to drag.This has to be done by dragging at points above or below the arrow nock. This movement is known as “crawling down the string.”
In a nutshell, the archer is altering the launch-angle of the arrow as it shoots off, which in turn is changing the trajectory of the arrow, keeping the ground in mind. This method is more commonly used for modern bows than the traditional ones.
Place the point of your arrow on your target
If you’re hitting too high, slide your hand down the string to move your group lower.

If you’re hitting too low, slide your hand up the string to move your group higher.
With a trial and error “walking’’ session along the string, you’ll be able to nail the bullseye at once!
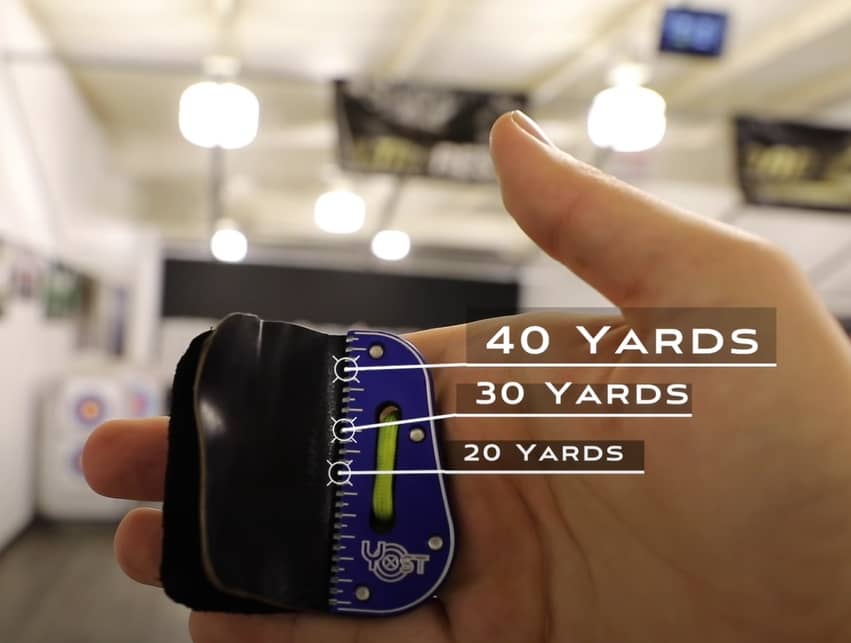
As a reference, you can use 14 lines down the line for 20 yards, 10 lines for 30 yards, and 4 lines down for 40 yards on your tab. But this might vary from person to person.
4. Fixed crawl
The fixed crawl method is a hybrid of string walking and gap shooting methods. The arrow is introduced with another nocking point apart from its own one, which is usually placed below.
To find where you need to place your hand on the string in order to make the arrow ‘point on’ at that distance, get away from the target by approximately 25 yards. Technically, you’re simply looking down the shaft and locating the spot where you want to aim and hit with accuracy.
Although this technique may not bag the prize for target shooters due to the limited range, it’s fast and relatively easy to get a point of reference for the shot. For short distances up to 35 yards or below, fixed crawl is a suitable method.
5. Howard hill split vision
In this method, archers will see a sight picture where the bow, arrow, and fingers are right in front of them but in peripheral view. The target, however, is in clear focus right in front of them. On a conscious level, as they are alert about the arrow shaft in their view, they use the position of the shaft to adjust the windage. The elevation adjustments aren’t as complex as gapping at the target for this method.
Overall, it becomes a reference system based on ‘how good’ the gap feels to the archer. The archer looks at the target and adjusts it a few times. Based on the sight picture, they reach a point where everything looks correct and once they feel confident about everything, they release the shot.
Longbow Aiming: The Basics
1. Take the right stance
Stand in an upright and comfortable position with one foot on each side of the shooting line. Your feet should be placed shoulder-width apart so that both of your feet bear your body weight equally. This way, you’ll be able to maintain your balance and keep your body steady.
You also need to maintain the position while shooting. You can adopt an open stance if you experience trouble with the bowstring clearance. Now, maintain the same position for each shot.
2. Nocking your arrow
Now fit the arrow by placing the nock between the nocking points on the bowstring. Make sure the cock-fletching is facing you and the nock is pushed gently onto the bowstring. Place the arrow shaft on the top finger of your bow hand.
3. Positioning the hand
While drawing the bow, you’ll be using your first, second, and third fingers. Place your index finger on the nock while keeping the second and third fingers below the nock.
Most importantly, keep a clear gap between the index finger, second finger, and the arrow nock. Don’t forget to keep the back of the hand as much relaxed and flat as you can.
In archery, people today often use a ‘Mediterranean draw’ in order to draw the bowstring. In this method, the ring, middle, and index fingers are used to pull the bowstring. There are two types of Mediterranean draws:
(i) Split-finger: the archer places their index finger above the arrow with their ring and middle fingers below it.
(ii) Three-under: all three fingers are placed under the arrow in this method. It is the more suitable type of drawing method for gap shooting.
4. Taking a Pre-draw prep
Raise the arm holding the bow and the drawing-arm together, so the bow-arm is now parallel to the ground. Keep your front shoulder low and place the elbow of the drawing arm high.
Make a preliminary aim as you draw the string back. Check to see the string is aligned on the center of the bow before drawing back. Similarly, the arrow point must be aimed at the target. Whenever the bow will get in the position vertical to it, the edge of the bow and the bowstring will be in a parallel position.
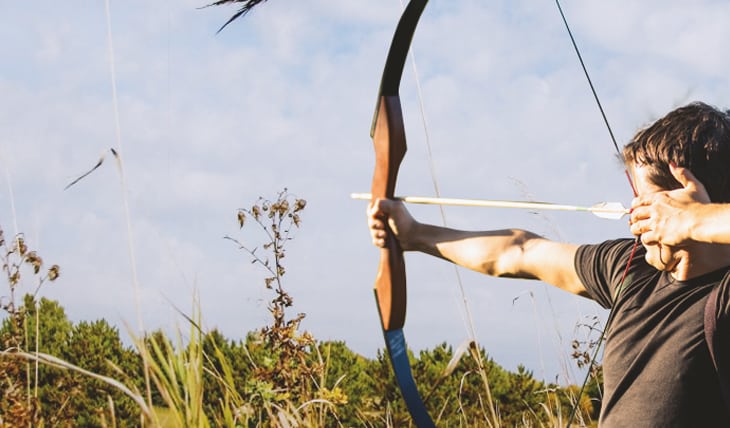
5. Drawing the bow
Now, your job is to draw and aim the longbow. Remember that a certain amount of kinetic energy has to go into the arrow. For this, you can use your back muscles to pull the drawing arm backward. This must be in a soft motion until your hand gets the position opposite to the jaw.
One thing to remember is that you need to stabilize the position of your body as well as the position of your head. To do so, put equal pressure on the hand that holds the bow and another that draws it.
6. Setting/Understanding the reference point
The point where you will have to position your hand on the jaw and where the bowstring will touch your face is called the reference point. It is of utmost importance that you have placed your index finger in the right place.
Place your thumb into the palm of your hand and make it clear that the bowstring is touching your nose or chin. Also, you need to ensure that all the positions are coordinated with each other. Any minor differences in the positions will impact the amount of force that the bow will exert on the arrow.
7. Holding the bow
Holding is the key point where the stress is sustained in back muscles to ensure the arrow is aimed correctly. This is a fleeting moment for many longbow archers.
If there is any sort of problem with your body or you’re in any doubt, it would be better to stop. Put the bowstring down and start the process once again.
8. Aiming the bow
If you can’t aim at the midpoint or at the bullseye, you better choose a point for the perfect shot. Mark a small point on the ground and then aim the arrow tip.
Many archers today use a rubber ring on the bow for a firm grip that they can adjust according to the distance of the shot.
After a short period of time, you’ll be hitting the targets quickly on short distances. But you do need a good longbow to have a significant difference in your longbow shooting experience.
So, go ahead, pick a great bow or make one yourself, aim, and shoot!


Leave a Comment