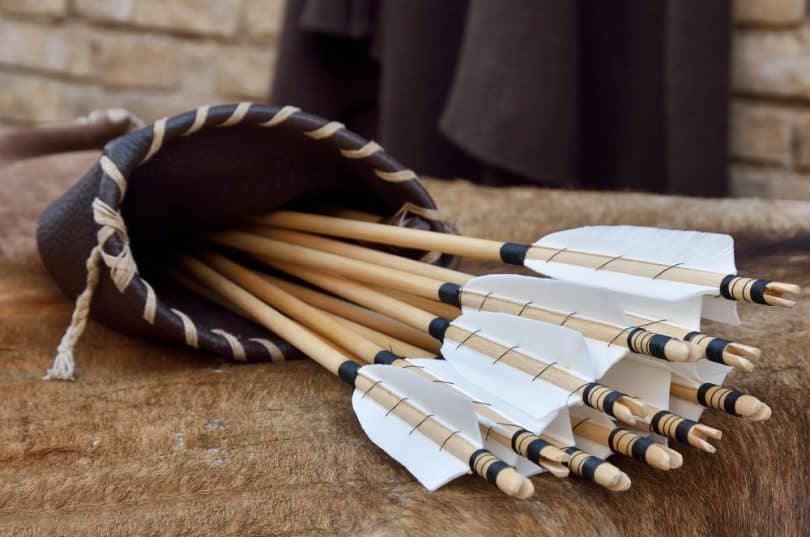
Want to learn all about how to make a bow quiver on your own? Let’s explore the easiest method in our DIY bow quiver guide! You will be able to make this quiver out of a different, more adaptable, and eco-friendly material: SnapPap, a special blend of vegan leather.
If you own arrows and a bow whether a compound bow or a crossbow or a longbow, start learning this easy technique. This quiver is not of such high quality but will surely serve your purpose.
Make Your Own Quiver: Step-By-Step DIY Bow Quiver Guide
Required Materials:
- Vegan leather (the quiver length depends on the size of your arrows. The length of our one is around 70 cm and so our quiver length will be 50cm. The width will be 30 cm at the top, and 10 cm at the bottom because our quiver will have the ‘V’ shape)
- Cutter knife/Scissors (you will be able to cut this material easily with the mentioned tools)
- Pencil/Pen and/or other required drawing tools during sketching outline (to know where you need to cut)
- Ruler
- Wood Glue
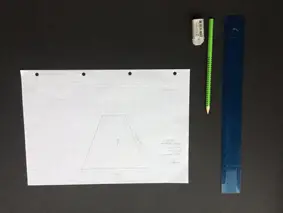
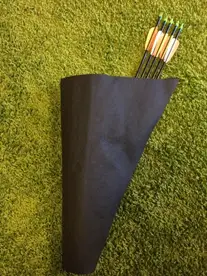
Step 1: Collecting Materials
See the picture. Here, the SnapPap has a 50 x 150 cm size that allows you to do another of a bit smaller size. To compare we have added an arrow to observe how much it will look out of this quiver.
Keep in mind to use the best-fitting length of your quiver because it all will depend on your arrows’ length.
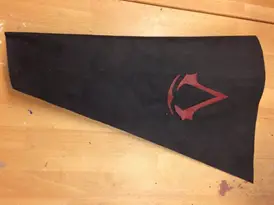
Step 2: Planning
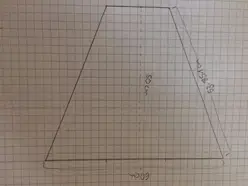
The important thing is that you need to draw it keeping in mind that you require cutting it and folding it in half. It means when you have 10 cm at the bottom and 30 cm at the top, on the design you require sketching 20 cm bottom and 60 cm top because this is your unfolded quiver.
Then sketch the whole thing on our SnapPap. (You will be able to see pencil marks easily on this material.)
Step 4: Add-on
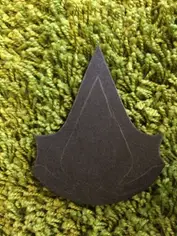
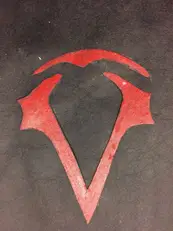
If you want to give the quiver your personal touch, you have the option to add this. This will look unique.
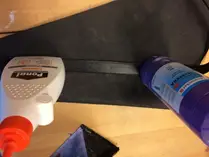
Step 5: Do the Gluing
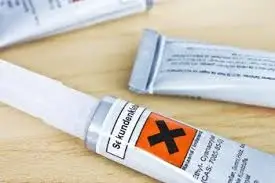
This is undoubtedly one of the most crucial steps because you can’t use the hot glue gun. You have the option to use wood glue as you require clamps to keep the quiver together.
If this glue doesn’t work, use the most powerful glue out there (We used superglue that dries immediately).
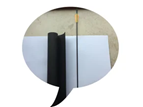
Step 6: Add the Belt/ Strap

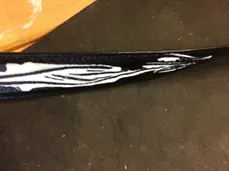
For this DIY bow quiver guide, we decided to include a belt to this quiver to put it on. Use wood glue to add the belt/strap. The smoother and more powerful the belt surface is, the more powerful glue you require. So, you also have the option to use super glue.
See figure 11, we marked a place on the belt where we would put the glue. Then see the next figure, we tried on this belt without taking the quiver just to test where to give the mark.
Step 7: Done!
Give some time for the glue to dry up. Now your bow and arrows are ready to use. You can also use your choice of vegan or genuine leather, but SnapPap is our favorite.
Now that you know how to make a quiver, we hope these instructions helped you. In case you have some questions, don’t hesitate to ask in the comments section.
FAQs
1. How can I personalize my DIY bow quiver?
Ans. You can personalize your homemade quiver by adding decorative elements like embroidery, patches, or customized paintwork. You can also consider adding pockets or compartments for storing accessories such as bowstring wax or spare arrowheads.
2. Are there any specific tips for making a waterproof bow quiver?
Ans. Consider using materials that are naturally water-resistant to make a waterproof DIY quiver, such as synthetic fabrics or waterproof coatings. You can also use waterproof sealants or tapes on seams and openings to prevent water from entering the quiver.
3. Are there any alternatives to leather for a traditional-style bow quiver?
Ans. If you prefer not to use leather, you can consider using synthetic leather, faux suede, or even sturdy fabric materials that mimic the appearance of leather for a similar traditional look.


Leave a Comment