
Any archer, whether beginner or seasoned, needs to use an archery target to make themselves a better shooter by improving accuracy.
It’s understandable why quality targets are critical.
Then, why foam for an archery target and no other materials? Can you make one yourself? If so, how to make a foam archery target at your home?
Well, that’s what we’re here for today. This guide will go through the DIY process of making homemade archery targets.
By the end of this post, you’ll have a solid idea about how to make a layered foam archery target at home. Let’s get started!
Fome targets are the best for DIY uses. Its versatility and ability to survive violent strikes from arrows/broadheads should suffice your everyday training routine.
Moreover, you can customize the target size and foam density as required if you make one yourself.
The process of making a foam archery target goes something like this.
How to Make a Foam Archery Target: Step-by-Step
Don’t worry, it won’t take you long hours to make one. The Process is fairly straightforward. Here’s what you’ll need to make durable archery targets at home.
Required Supplies
- 24? square foam floor mats
- 6 – 3? lengths of 2×4
- 2 – 1? lengths of 2×4
- 3? wood screws (Exterior)
- Cutter (Box)
- Drawing instruments for example T-square
- Handheld saw or circular saw
- Drill machine
- 1/2? drill bit
- Grinder with hacksaw or cutoff disk
- Nuts (8 – 3/8 inches)
- Washers (8 – 3/8inches)
- Washers (8 – ½ inches)
- Coarse thread rod
- Spanner wrench (3/8 inches)
- Locking pliers
- Sharpie
Steps To Make The DIY Foam Archery Target
Step 1: Prepare Your Foam
Your first job is cutting different foam pieces into uniform shapes and sizes. Get your drawing instrument. In this case, you will use a T-square.
Get one piece of foam and measure 12 inches from the edge of the piece and leave a mark there. Do the same thing for other pieces of foam.
Stack different pieces of foam so that the marking you make earlier on each piece of foam stays along the same line.

Get the T-square drawing tool again and mark a line that will pass through markings placed earlier on each piece of foam.
Take a box cutter and cut different pieces of foam along the line you drew. Make the cut as straight as possible.
This way, you will get several pieces of foam of the same size and shape.
Step 2: Make the Top and The Base
Now, you’ll need to make a base to place your target. To do that, cut pair of wood pieces of different measurements. One pair would be larger than the other.
The measurement of the larger pair should be 6 inches in length and 3 inches in height; the shorter pair would be 2 inches in length and 1 inch in width.
Using nails, attach the two pairs to each other. The shape of the base would look like a small ladder with just two steps supporting the polyethylene foam.
Follow the same process to make the top of the target.
Again you need to cut pieces of wood into two pairs of dissimilar wood pieces and the above process using nails to make a ladder-like wood structure
Step 3: Use the Threaded Rods
In this step, you need to attach a threaded rod with the base.
The function of the threaded rod is to keep the foam pieces in place. Use washers of varying dimensions to secure the rod with the base.
Step 4: Add the Foam
Stack different pieces of foam by placing one piece over the other.
While stacking, make sure all pieces are perfectly aligned. It will ensure that the surface of the target will have smooth surface.
Step 5: Compress the Foam
This will appear to be cumbersome and exhausting as well.
By using a spanner wrench, compress different pieces of foam. But do not compress too tightly. Excess compression will make the target too rigid to pull the arrow out.
Your different pieces of foam are now placed between the base and top part of the target.
Step 6: Get Rid of the Excess
This step is about cutting off extra threaded rods from the base. You can use a hacksaw or grinder to do the job.
You can use duct tape to join all the foam pieces together and then cut, this will make the cutting much easier.
Step 7: Check The Final Result
This is the final step. In this step, you will check how good your DIY target is.
If you find out that the arrow penetrates easily the center position of the target, rearrange different pieces of foam.
Interchange the position of the top piece of foam with the bottom piece and vice versa.
You need to shuffle different pieces several times to get a perfect target that stop arrows perfectly, and make recollecting those arrows easy. Here’s a video guide of the overall process.
Congratulations! Now you know how to make a foam archery target at home.
FAQs
How Thick Should A Foam Archery Target Be?
The thickness of a foam archery target should be determined by the type of arrows you are using. For instance, carbon arrows should have a minimum of 10 cm or 4” of padding behind them to reduce the risk of damage from impact. On the other hand, fiberglass arrows can be shot into a target with as little as 4-6 cm (2”) of foam padding.
What Foam Is Used For Layered Archery Targets?
Layered archery targets typically use a high-density foam core material. Usually, polyethylene rolls or neoprene rubber sheets are used in between two layers of protective cover material. This cover could range from durable fabrics such as canvas, leather, or synthetic materials like vinyl.
What Makes A Foam More Stable?
Foam stability is determined by its density and the size of its cells. Foam with a higher density will be more stable, while foam that has smaller cells can also provide improved stability. Another factor to consider when assessing the stability of foam is its compressibility.
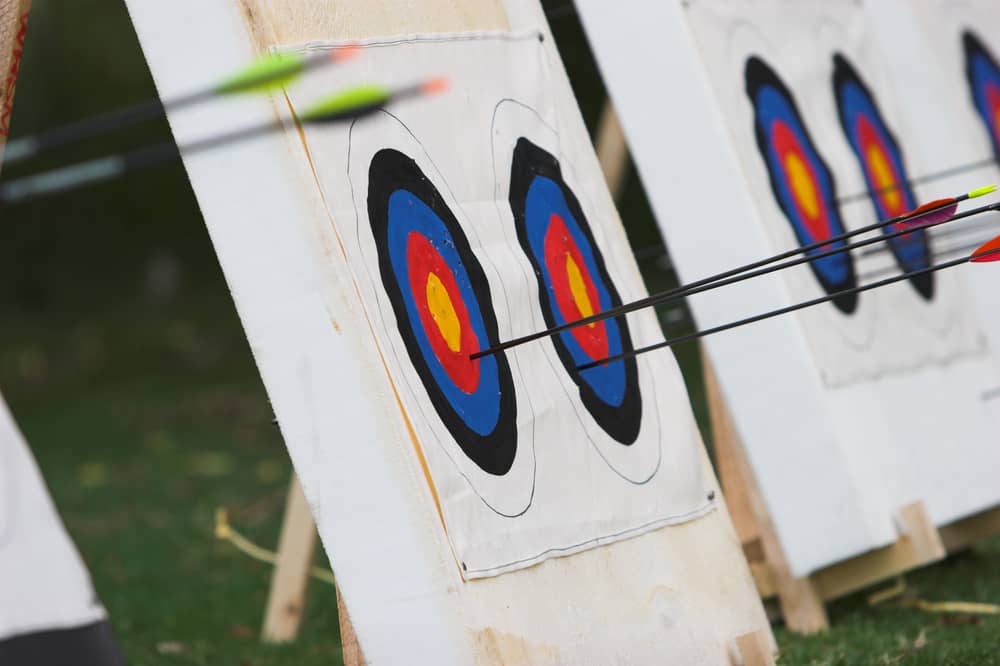
What Are The Colors On An Archery Target?
Archery targets typically feature black and yellow colors. They can also feature colors like blue, white, red, or orange. The bullseye color may also differ. And it is where the archer should aim, while the outer rings of yellow/gold designate points for each shot. In some cases, a third color may be present to differentiate between different scoring zones or point values.


Leave a Comment