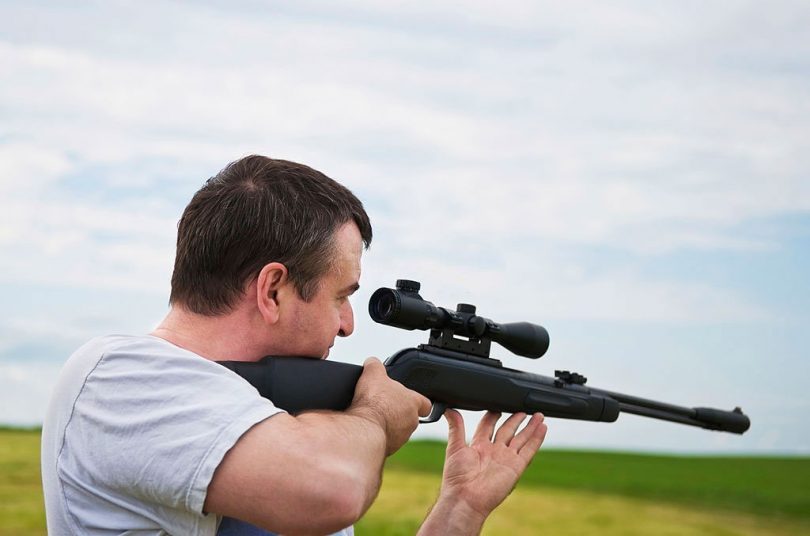
Sighting in a rifle scope is essential for any shooter who wants to hit their target accurately. If your scope isn’t properly sighted, the bullets will not land where you expect them to and can be dangerous.
A scope that is positioned and sighted accurately increases your chance of taking down a game. But how do you sight in a scope on a rifle? That’s what we’re focusing on today.
Fortunately, sighting in a rifle scope is relatively easy and only takes a few steps. With the right tools and knowledge, anyone can quickly learn how to sight in a rifle scope.
This guide will provide a simplistic overview of the scope sighting process. We’ll discuss the associated steps and share some pro tips so you can sight in your rifle scope effortlessly every time.
Let’s jump right in!
How to Sight in a Rifle Scope: Things to Keep in Mind
For those who aren’t familiar, sighting refers to the process of aligning the sights of your firearm in a specific range so that the bullet hits the target accurately. The process involves boresighting, fine-tuning, and shooting for accuracy.
There are some things you should know beforehand if you’re attempting to sight in your rifle for the first time. Let’s explore them one by one.
Windage And Elevation
Windage and elevation are the two main components of scope sighting. Windage is used to adjust the horizontal positioning of your target, while elevation adjusts the vertical point of impact. You can find these adjustments on your scope’s turrets.
Bullet Drop Compensation
Another important factor is bullet drop compensation. When you fire a bullet, it does not always hit the intended point of aim because of the force of gravity acting upon it.
Bullet drop compensation helps you adjust for this effect so that you can make more accurate shots.
Precision And Accuracy
The last thing to consider in scope adjustment is precision and accuracy. If your shots are not accurate, then you will have difficulty making targets consistently.
You should always strive for accuracy before anything else since it is the most crucial factor in successful shooting.
Sighting In A Scope: Step-By-Step Guide
Now that you understand the basics of rifle scope sighting, it’s time to get to work. Whether you are using a red dot, holographic or any other sight, the sighting process is pretty much the same.
Here are 6 simple steps you’ll need to follow when sighting in rifle scopes:
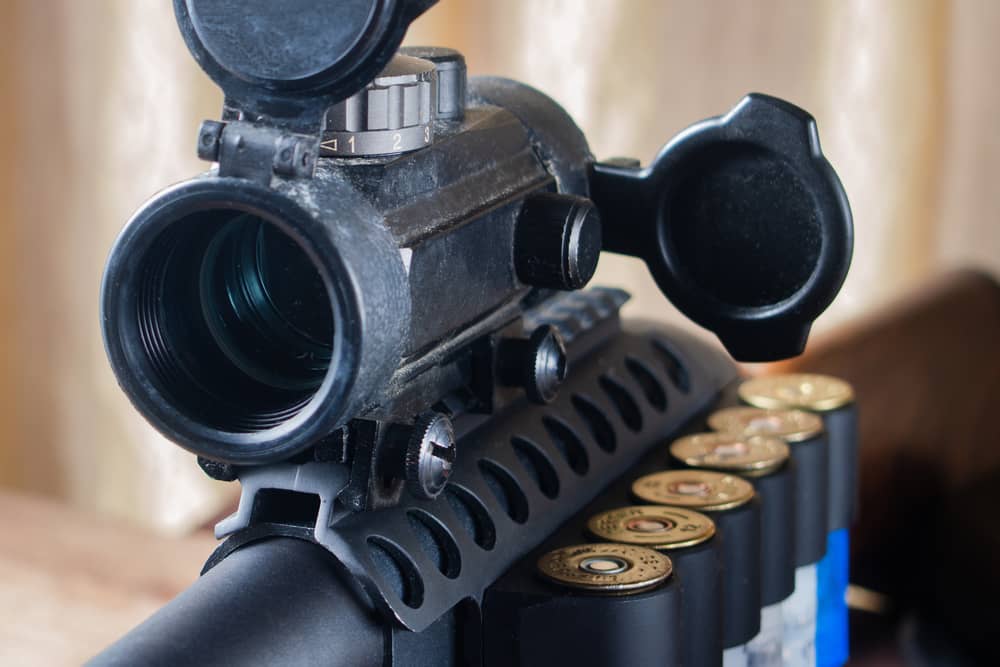
Step 1: Mounting The Scope
Mount the scope following the instructions in the manual. Properly torque and tighten all the rings for a secure position.
It would be a good idea if you also considered sighting up the eye relief correctly. This will help the eye relief to avoid being affected by the optic positioned close to the recoil.
Step 2: Boresighting
Slow down and take a deep breath. You will need to take out some time to boresight a new scope before using it on a rifle. Doing this will help save time.
Clearing the rifle is the first step when you want to boresight. It is essential to unload the rifle and ensure your barrels are unobstructed before getting started.
Once the rifle is completely cleared and unloaded, the next thing is to remove the bolt or magazine.
Now you can mount your rifle securely on a resting point with your barrel targeted downrange while cleaning the rifle.
Keeping the rifle secure, use a bore sighter to line up the reticle with the bore of your gun. When you’re done, the reticle should be approximately over the barrel of your gun.
Step 3: Fine-Tuning The Windage and Elevation
Once you have done boresighting, it’s time to fine-tune the windage and elevation by adjusting the turrets on your scope. While doing this, you need to keep the windage and elevation numbers in mind.
Start by turning the turret until it reads zero, then count the number of clicks necessary to make a full revolution.
Once you know this number, use it to guide how many clicks are required for each adjustment.
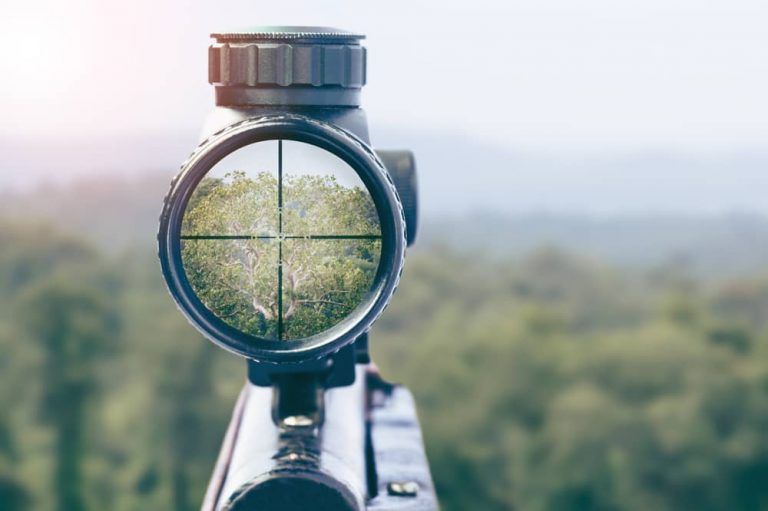
Step 4: Aligning The Reticle
Once the scope is fastened correctly, the next phase is to center the crosshair or reticle. Focus your eye closely directly on the reticle when viewing the scope.
You will require a solid base to position the reticle properly. Here, the sky will serve as a better option.
You will need to position the scope directly to the sky, look away at the trees or the cloud at a distance, and bring the eyes again into the scope.
Once you bring the eyes back into the scope, the image must be sharp enough and focused on rightly.
If the reticle is a bit blurry, then make the necessary adjustment on the diopter.
The diopter is easy to access. Once this is achieved, make more adjustments until the reticle appears when viewing across the sight.
You will need to verify if the reticle is paralleled and aligned correctly for the proper windage and elevation.
It needs to have a perfect cross whenever you view across the scope. Positioning the reticle properly is essential if you intend to shoot over a distance.
Step 5: Shoot and Adjust
Once you have adjusted your scope, you can start shooting at various distances from your target to get an accurate shot on paper.
Start at 25-50 yards and shoot five shots while keeping track of your results on paper or a scorecard.
If all the shots (also known as the shot group) land within one inch in the center of your target, consider that good enough and move further forward. Once you are clear at 50 yards, go for 100 and 200 yards, respectively.
Repeat this process at longer distances until you find the desired accuracy. Make sure to adjust your scope accordingly and make any adjustments necessary until your shots are consistently hitting the target.
Once you have achieved a satisfactory level of accuracy with your rifle, it’s time to test it out. Shoot at longer ranges to get an idea of how well your scope works over different distances.
Make sure that your bullets are still hitting the target accurately and if they start to wander off, make any necessary adjustments.
Here’s a video tutorial on how to go about the process. Sighting in a rifle scope requires patience, precision, and accuracy. Having the right skills and following the above steps properly can help you get your desired results with ease. It is one of the best way to sight in a rifle.
MOA Adjustments: What You Need to Know
When you are sighting your rifle scope, you will need to be familiar with the Minute Of Angle (MOA) adjustments that go along with it.
MOA is a unit of angular measurement used for adjusting the reticle on a scope. It’s easy to understand and use when dialing windage and elevation when shooting long-range targets.
An MOA adjustment represents 1/60th of a degree at 100 yards, or 1 inch for every 100 yards.
This means if you adjust the turret with one click, the point where your bullet lands will move one inch at 100 yards, two inches at 200 yards, three inches on target at 300 yards, and so on.
The dot reticle you see through your scope represents 1 MOA at 100 yards. If you need to move the reticle 2 MOA, adjust your turret two clicks to the left/right or up/down depending on if you’re making a windage or elevation adjustment).
How to Sight In a Scope On a Rifle: Pro Tips
Now that you know how to sight in a rifle scope, here are some pro tips to keep in mind when sighting in your rifle scope:
- Invest in quality tools: You need the right tools, such as a laser bore sighter, to speed up the process of sighting in a rifle scope.
- Use quality ammo: Quality ammunition is essential if you want accurate results while shooting at a target. It is important to use the same ammo you intend to go on a hunt with while carrying out a test on the rifle.
- Start low and work up: Start with low power magnification settings and closer ranges. Gradually work your way up as you become more experienced with handling the rifle scope.
- Utilize a rest or bag: Shoot from an elevated position for maximum accuracy by using either a gun rest or bags for support when firing the shots.
- Let your rifle cool off: There are rifles that “walk shot” once their barrel heats up, and this can affect distance shooting, so it’s best to allow the barrel for some time (3-5 minutes) to cool off before shooting again.
- Practice regularly: Regular practice helps build confidence and accuracy when shooting at a target.
By following these few tips, you will be able to sight your rifle scope correctly.
And with that, we’re at the end of our today’s topic. This guide provided a general overview of the sighting process. As of now, you’re more knowledgeable about how to sight in a rifle scope than before.
Remember, the key is patience and plenty of practice! With enough time and effort, you can become an expert marksman. Thanks for reading this far. I wish you all a great weekend ahead, and happy shooting!
FAQs
Do You Chase The Bullet When Sighting In A Rifle Scope?
No, you should not chase the bullet when sighting in a rifle scope. Instead, you should make fine adjustments to the reticle until it is accurately aligned with the target. A general rule of thumb is going the opposite direction your bullet’s impact was in relation to the bull’s eye.
How Far Should A Scope Be From Your Eye?
Your scope should be about 2.5-3 inches away from your eye when shooting. This allows for optimal focal length and comfort when aiming down the sights. It also protects your eyes from scope bites.
How Long Do You Have To Wait Between Shots When Sighting In A Rifle?
When you sight in a target practicing/hunting scope, it’s best to wait at least 3-5 minutes between shots. This allows the barrel of the gun to cool off, thus guaranteeing better accuracy on your next shot.
What Is The Basic Rule Of Sight Adjustment?
The basic rule of sight adjustment is one click equals one minute of angle (MOA) or 1 inch at 100 yards. This means that if you adjust your turret by one click left/right or lower/higher, the bullet hole will move one inch left/right, or low/high at 100 yards from the bull’s eye.
What Causes Scope Bite?
Scope bite is caused when the scope of a rifle hits the shooter’s forehead or face with the recoil force. This can occur if the eye relief of the scope is not adjusted correctly, and cause severe injury to the shooter. To avoid this, make sure you adjust your eye relief so that there is sufficient distance between your face and the scope. Recoil consideration is also important.


Leave a Comment