When you’re using a rifle, precision is everything. If your rifle isn’t well calibrated, your chances of missing shots are quite high.
Even if you’re a seasoned hunter, if you don’t mount and adjust your hunting rifle scope correctly, you’ll continue to fail time after time.
The precision of your rifle highly depends on the proper mounting and calibration of the scope. And sighting in a rifle without a scope is also difficult. This is the reason many hunters prefer hiring a professional to do this job.
But how to mount a scope on a rifle quickly and efficiently, you ask? Well, that’s why we’re here.
This guide will provide a general overview of the scope mounting process. We’ll discover the step-by-step process of installing and adjusting the scope to suit your needs. We’ll also share some pro tips on how to mount a rifle scope without any issues.
Let’s jump right in!
How to Mount a Scope: A Step-By-Step Guide
Let’s go straight to the point of our discussion. This section will explore how to install scope on rifles in a simple, step-by-step work process. Here’s the most efficient way to mount a rifle scope:
Step 1: Check The Fit
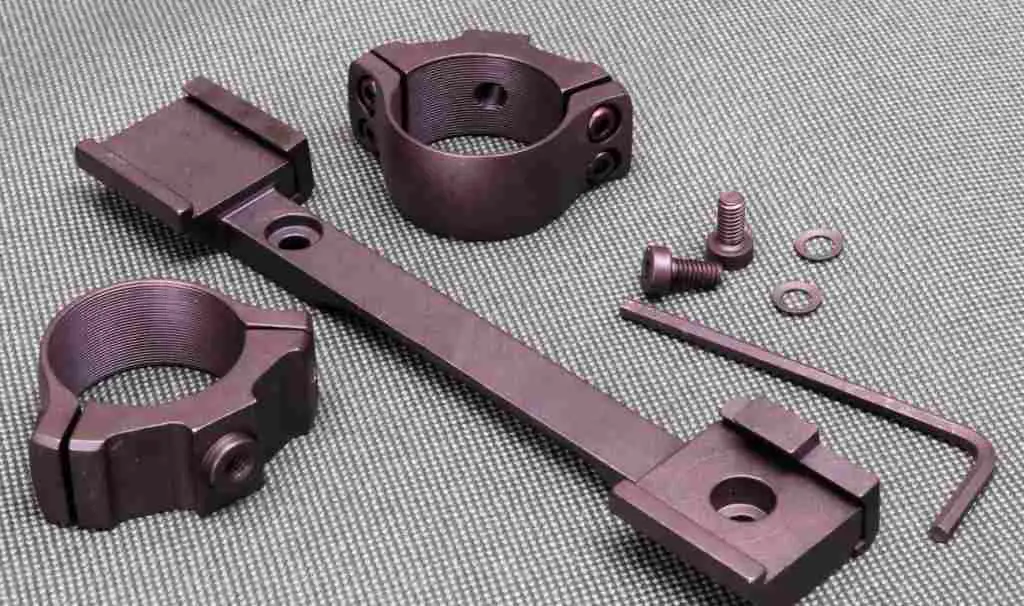
Scopes usually include their own mounting set that includes bases and rings. Not all types of scopes are suitable for all types of rifles.
So, before you get a new scope, it’s a good idea to check if the mounting system fits the rifle.
One more thing. It would be best to verify the diameter and height of the rings beforehand, as you don’t want to end up with a base that is too wide or narrow.
2. Put the bases in place
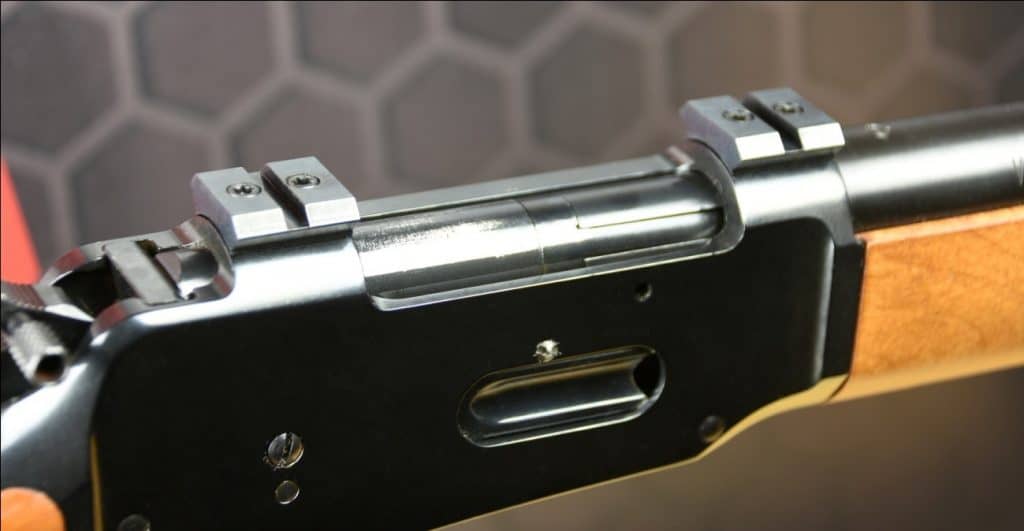
Place the bases over the mounting holes of the rifle. Also, verify that the mounting kit includes enough screws to install the bases.
Usually, two screws per base are necessary to get the job done. The necessary mounting tools and equipment are usually included in the packaging, but you can do it with just a few basic tools, probably lying around your workshop.
3. Tighten the base screws
Before installing the screws, apply a drop of thread locker liquid in each thread.
This way, you’ll avoid slight movements in the base that could miscalibrate the scope.
A thread locker can act as a lubricant, letting you apply more pressure than necessary when tightening the screw. So, be careful to not overtighten the screw to prevent thread deforming.
To ensure uniform pressure on each side of the rings, put the four screws in place and alternately tighten each one.
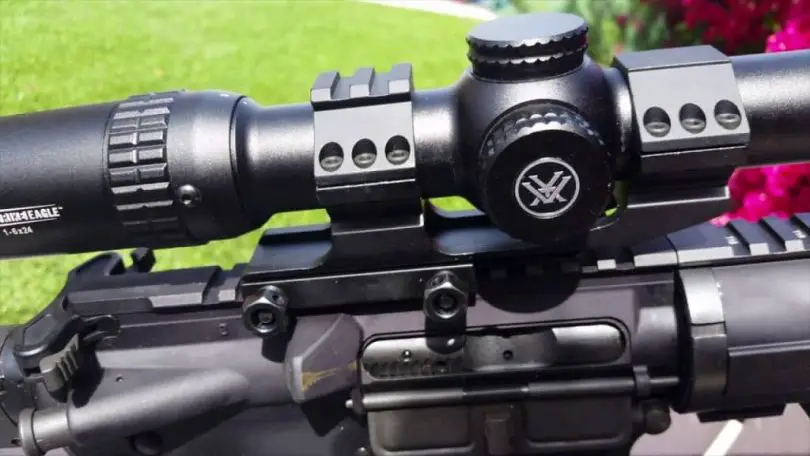
4. Install the rings
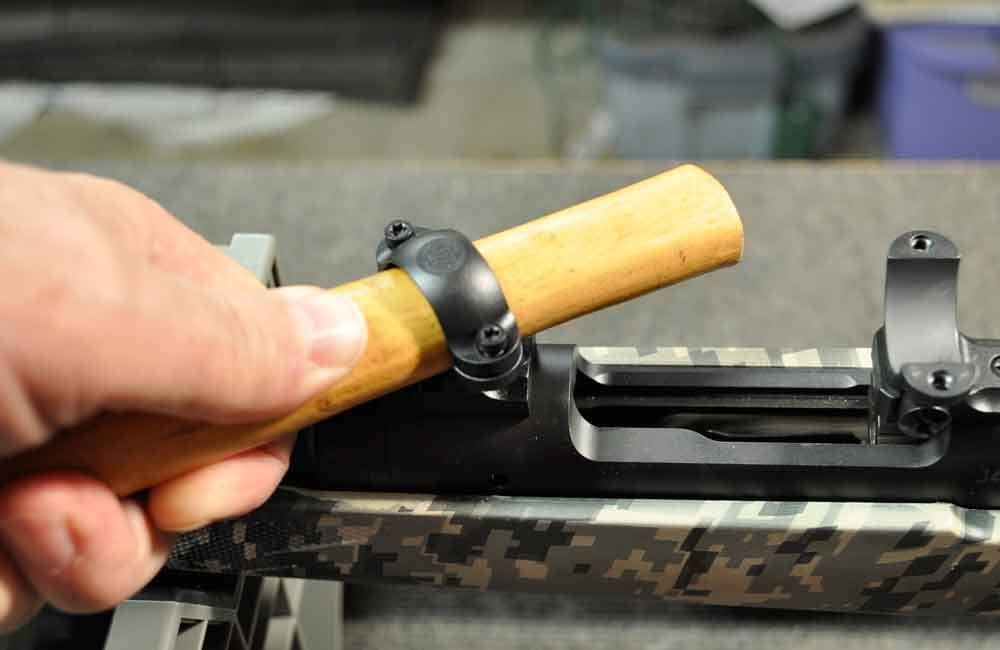
Screw the bottom half of the rings onto each base. Then, rotate both rings to insert a hardwood dowel or cylindrical object between them.
This way, you’ll guarantee a perfect alignment.
Using your new scope to align the rings isn’t recommended because its surface tends to scratch easily.
5. Adjust the reticle
After aligning the rings, put the scope in place. Install the upper halves of the rings to fix the scope, but don’t tighten the screws just yet.
Use two bubble levels to align the crosshair. To do this, place a level on the action of the rifle and the other level on the reticle.
Slightly move the rifle and the scope until both levels’ bubble stops in the tube’s middle.
Then, tighten the screws on each ring a little more, allowing the scope to move back and forth.
Step 6: Move The Scope
Put your rifle on your shoulder and keep an eye wide open, looking through the scope.
Slide the scope between the rings to a position that gives you a clear view of the target through eye relief.
Once the scope is in the right position, move it one inch forward. By doing this, you’ll avoid hurting your eye in case of recoil.
Step 7: Tighten The Ring Screws
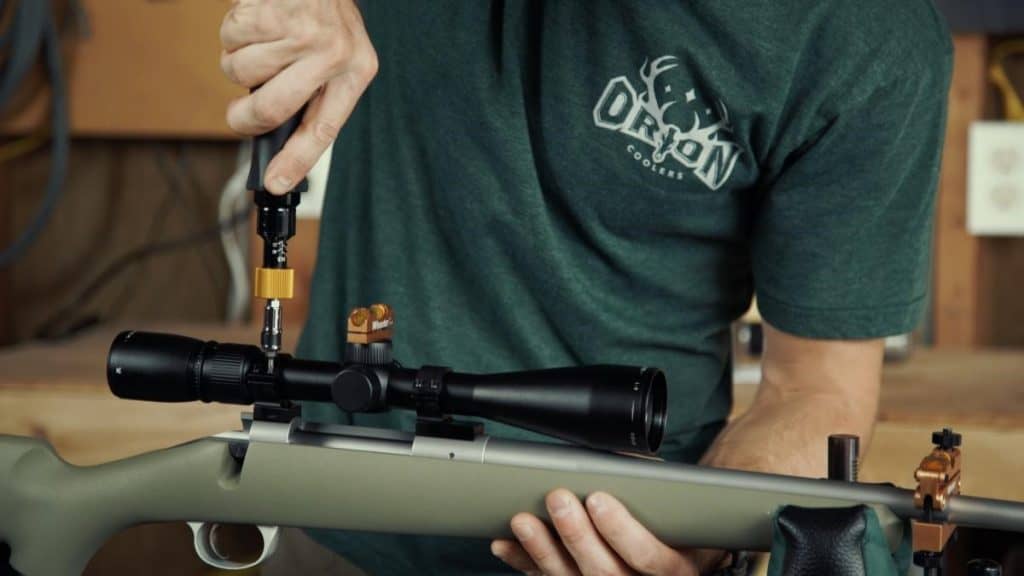
Once the reticle is aligned and the scope is in the right place, tighten the screws on the rings firmly.
Apply enough pressure on the screws to guarantee the scope doesn’t move.
Alternate in an X-pattern to apply the same pressure on each screw. Using a small torque wrench will provide maximum precision.
Step 8: Bore Sight Adjustment
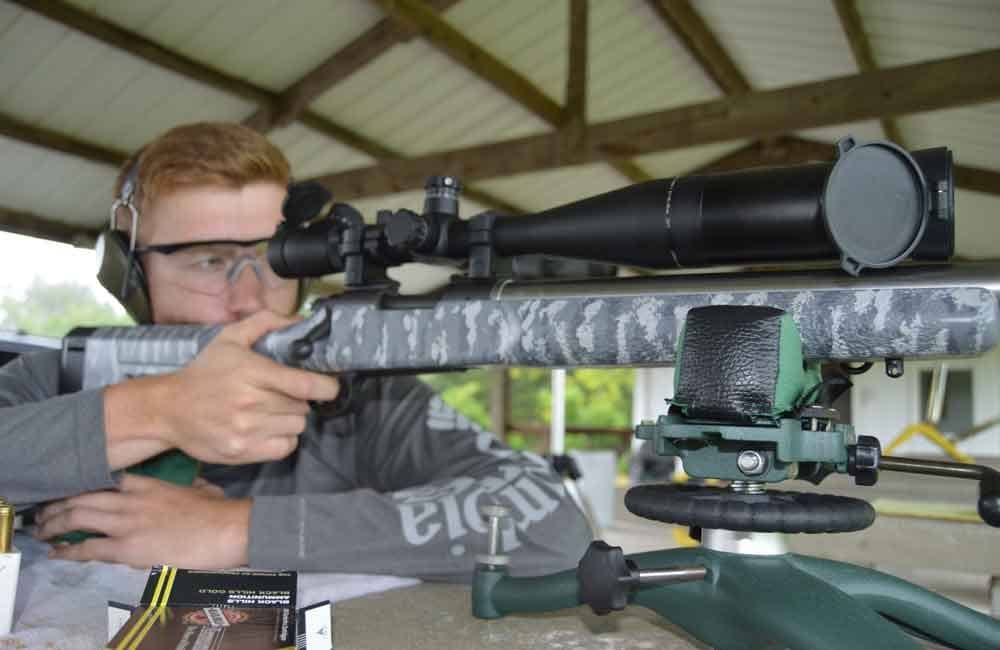
Adjusting your bore sight is an essential part here. If you own a bolt action rifle, remove the bolt. Then, move 25 yards away from a target and point to its center.
Keep the rifle in position and put your eye in front of the scope.
Align the horizontal and vertical crosshairs to the center of the target using the adjustment controls.
Pull the trigger for a test shot when you’re ready to shoot.
If the first shot hits near the target, the calibration is acceptable. If not, make the necessary adjustments.
Once you’ve aligned your scope and rifle perfectly at that distance, move 100 yards away from the target and repeat the same process.
You’ll have to be much more precise when manipulating the adjustment controls to hit the target from this distance.
Here’s a video guide on bore sighting if you’re interested.
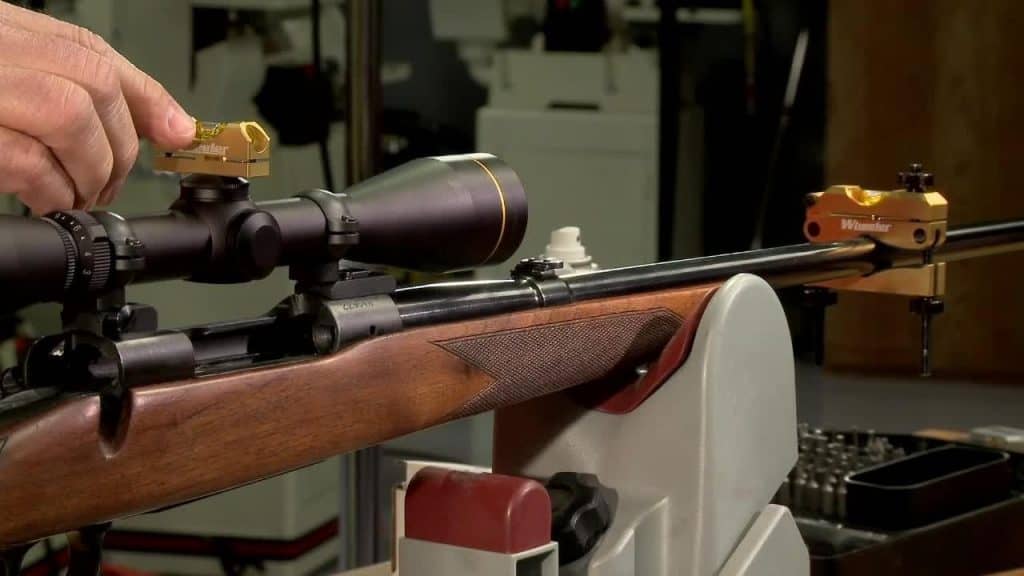
If manual bore sighting is too complex, you can install a magnetic laser on the scope for higher precision. That way, you’ll only have to align the crosshairs to the reflected laser point.
Congratulations! Now you know how to install a rifle scope the proper way. Both you and your firearm are now ready for some action.
How to Mount a Rifle Scope: Pro Tips
Now that you know how to mount a scope onto your rifle, here are some pro tips that can make the installation process much easier:
- Before applying thread locker on each screw, make sure to carefully read the user manual.
- Some rifle manufacturers recommend not applying adhesives to the threads because they become very difficult to remove.
- Before installing the bases and rings, it’s recommended to clean them with isopropyl alcohol to remove any debris on the surface.
- Use a click torque wench to better control the applied torque on each screw.
- Adjust your tool following the recommendations suggested in the user manual.
- Use a gun vise to keep your rifle in a safe position while mounting the scope.
- Metal gun vises are the best because they’re more resistant and rigid than plastic models.
- When using a laser bore sighter, keep your eyes away from direct exposure to laser light.
- Before shooting, also make sure to remove the laser from the scope.
Conclusion
As you can see, whether you’re using a thermal or sniper scope, mounting the optical device isn’t as difficult as you might’ve thought before.
You just need the right tools and apply the tips in this guide to get the job done.
Before you go hunting, make sure to properly calibrate your rifle to avoid wasting bullets and time.
Also, check the stability of rings and bases and tighten the screws if necessary.
You don’t need fancy calibration tools to get good results. You can do miracles with a pair of bubble levels and a small torque wrench.
And with this, we’re at the end of this article. We tried to explain How to Mount a Scope onto a rifle.
I hope this information proves helpful and you can install, maintain, and use your rifle scopes for years. Thanks for reading this far. I wish you all a great weekend ahead, and happy shooting!
FAQs
Do You Need Special Tools to Mount a Scope?
No, you do not need special tools to mount a scope. Most scopes come with mounting hardware that you can use along with basic tools like a screwdriver and wrench.
However, depending on your rifle and scope combination, it may be necessary to purchase additional bases or rings in order to properly mount the scope.
Why Does My Scope Lose Zero?
Loose or improper installation can cause your scope to become misaligned after being fired, leading to a loss of zero. If the rifle is not correctly bedded into the stock, it may move after firing and cause a shift in the scope’s alignment.
Environmental factors such as temperature or humidity can also affect the scope’s components over time, leading to a potential misalignment of the scope.
How Far Can a Night Vision Scope See?
The distance a night vision scope can see depends on several factors, including the type of night vision technology used and the quality of the optics. Generally speaking, most high-quality night vision scopes can detect targets up to 200 yards away in complete darkness.


Leave a Comment